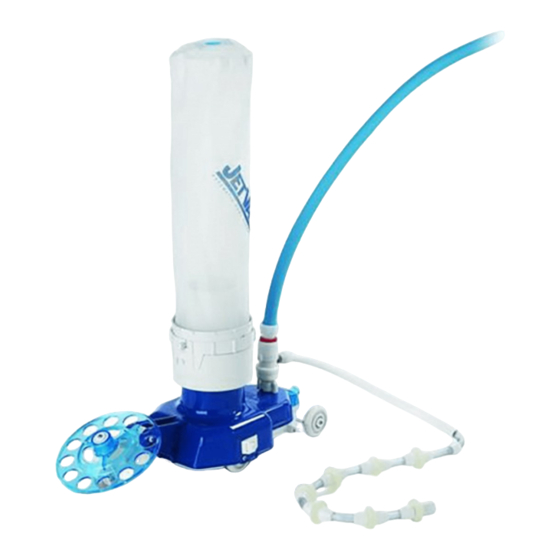
Aqua Quip JET-VAC 설치 설명서 및 사용 설명서 - 페이지 4
{카테고리_이름} Aqua Quip JET-VAC에 대한 설치 설명서 및 사용 설명서을 온라인으로 검색하거나 PDF를 다운로드하세요. Aqua Quip JET-VAC 12 페이지. Automatic pool cleaner
Aqua Quip JET-VAC에 대해서도 마찬가지입니다: 설치 설명서 및 사용 설명서 (12 페이지)

INSTALLATION PROCEDURE (continued)
FEEDER HOSE ASSEMBLY:
Feeder hoses are factory-assembled and must
always be in the following order:
FIRST SECTION is a WHITE HOSE that fits
between the WALL FITTING and the DARK BLUE
HOSE.
SECOND SECTION is a DARK BLUE HOSE that
fits between the WHITE HOSE and the LIGHT
BLUE HOSE.
THIRD SECTION is a LIGHT BLUE HOSE that fits
between the DARK BLUE HOSE and the JET-VAC.
The Jet-Vac feed lines are formulated with a special
material for maximum performance. These feed lines
cannot be kinked at any time either during operation
or when being removed from the pool. Kinking feed
lines will result in bursting and will not be covered by
warranty. From time to time it may be necessary to
lay the entire assembled hose out straight in the sun
to remove any coil-memory from the hose.
2nd Section Dark Blue Hose –
CUT THIS SECTION ONLY WHEN
SHORTENING FEED HOSE
B
A
1st Section White Hose –
600mm (2ft)
4
J E T - V A C
JET-VAC
4.2m (14ft)
C
C
3rd Section Light Blue Hose –
4.8m (16ft)
A U T O M A T I C
P O O L
C L E A N E R
AUTOMATIC
POOL CLEANER
INSTALLATION PROCEDURE FOR
JET-VAC FEED HOSE:
1) Turn off booster pump, filter pump and time
clocks.
2) Attach the wall fitting to the pool wall, as shown in
Figure 1 on previous page. Feed hose is factory-
fitted to the wall fitting.
3) Take the "sweep hose" end of the Jet-Vac hose
and walk around the circumference of the pool to
find the point that is furthest from the wall fitting.
Remove the slack from the hose but do not
stretch the hose.
4) Hold the hose at the pool edge. Allow 600mm (2ft)
overhang past the pool edge, then measure from
this point to the end of the feed hose. Remember
what this distance is. This is the distance that will
need to be cut off the Dark Blue Hose.
5) Go back to the Dark Blue Hose where it is marked
"Cut This Section Only", unscrew the Mender Nut
and cut the hose to the required length. After you
cut the Dark Blue Hose, evenly space the Hose
Floats by sliding them so they divide the remaining
section into three equal parts. Depending on how
much hose is cut, there may be only one Hose
Float left on this hose. If so, then slide the Hose
Float to the middle of the Dark Blue Hose.
6) Re-attach the Dark Blue Hose to the Swivel and
tighten the Mender Nut.
A = Bayonet Wall Fitting
B = JVD5 Swivel
C = JV57 Float
D = JV52 Sweep Hose
B
C
–
I N S T A L L A T I O N
C
D
&
O P E R A T I N G
I N S T R U C T I O N S
