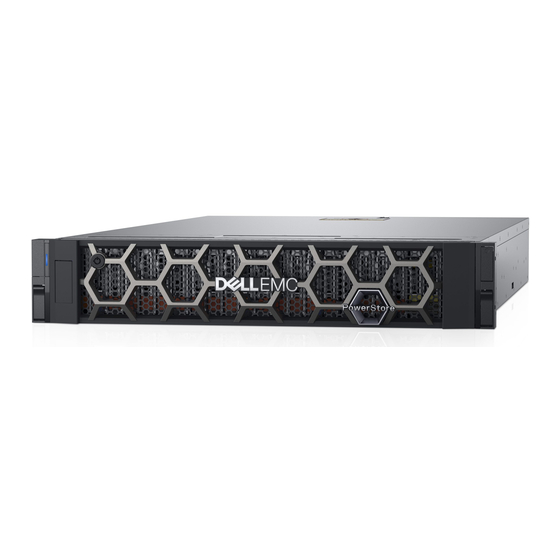
Dell EMC PowerStore 빠른 시작 매뉴얼 - 페이지 2
{카테고리_이름} Dell EMC PowerStore에 대한 빠른 시작 매뉴얼을 온라인으로 검색하거나 PDF를 다운로드하세요. Dell EMC PowerStore 8 페이지.
Dell EMC PowerStore에 대해서도 마찬가지입니다: 빠른 시작 매뉴얼 (8 페이지)

1. Unpack your system
Verify that you have the following:
Base enclosure:
2U base enclosure (1)
Rails (2)
Power cables (6, only 2 required per enclosure)
1
Only 4 included for PowerStore 500T
Decide where to install the base enclosure
-
Install your base enclosure in the lowest possible space, leaving 2U of space open at the bottom of your cabinet for
serviceability.
-
If installing an expansion enclosure, install the expansion enclosure in the next available 2U space, directly above the base
enclosure or the last expansion enclosure in the system.
-
Leave 4U at the top of the rack for network switches.
-
It is recommended that you also leave 36 inches of clearance in front of and behind the rack for serviceability.
2. Install the rails into your cabinet
When installing the rails, ensure that the rail pins are lined up correctly:
•
For the front end of the rail, the bottom pin of the rail goes through the middle hole of the lower U, and the top pin goes through
the top hole of the upper U.
•
For the rear end of the rail, the bottom pin of the rail goes through the bottom hole of the lower U, and the top pin goes through
the top hole of the upper U.
1.
Position the rail so the label FRONT is located at the front of the rack and facing towards the inside of the rack, while
orienting the rear of the rail to align level with the holes on the rear of the rack.
2.
From the rear of the rack, pull the rail straight back until the latch is locked.
3.
To install the front-end piece of the rail, press the blue latch release button until the latch rotates open.
Note: The pins on the back of the rails are in different locations than the front of the rails.
4.
Pull the rail forward until the pins slide into the holes on the front of the rack, then release the latch to secure the rail in
place.
5.
Repeat for the other rail.
Note: Racks are shown with square holes. The installation instructions are the same for racks with round holes. For
racks with threaded holes, remove the guide pin on the rails before installation.
Dell EMC PowerStore Quick Start Guide
Network cables (4)
Electrostatic discharge clip (1)
1
Bezel, with key (1)
Page 2 of 8
