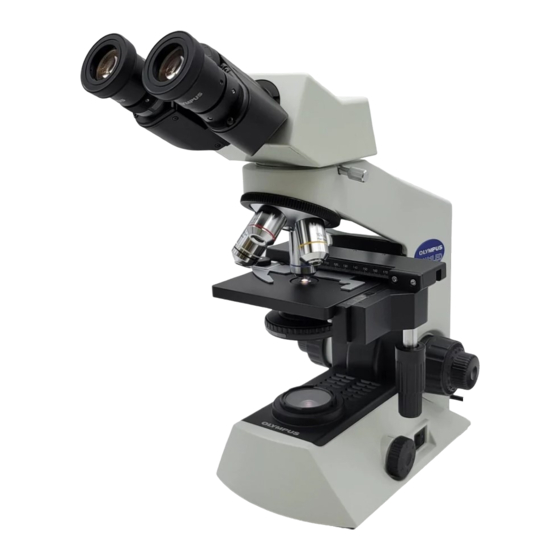
Olympus CX21LED 사용 설명서 - 페이지 12
{카테고리_이름} Olympus CX21LED에 대한 사용 설명서을 온라인으로 검색하거나 PDF를 다운로드하세요. Olympus CX21LED 28 페이지. Biological microscope

4
Adjusting the Interpupillary Distance
5
Adjusting the Diopter
9
@
Fig. 9
Fig. 10
@
Fig. 11
Fig. 12
Pre-focusing Knob (Fig. 9)
}The pre-focusing knob controls the mechanism for preventing collision
between the specimen and objective.
1. After bringing the specimen into focus, turn the pre-focusing knob 1
inside the hole of the arm so that the pre-focusing mechanism hits the
stage guide.
2. To provide a certain margin for focusing, rotate the knob by about half
turn backward from the stopped position.
# If the function of this mechanism is not required, set the pre-focusing
knob 1 at the highest position.
}The interpupillary distance adjustment consists of regulating the two eye-
pieces according to that between your eyes so that you can observe a
single microscopic image through two eyepieces. This greatly helps to
reduce fatigue during observation.
· While looking through the eyepieces, move both eyepieces until the left
and right fields of view coincide completely.
The position of index dot · indicates the interpupillary distance value.
}Note your interpupillary distance so that it can be quickly duplicated.
}The diopter adjustment consists of compensating for the difference in
eyesight between your eyes.
1. While looking through the right eyepiece with your right eye, rotate
the coarse and fine focus adjustment knobs to bring the specimen
into focus.
2. While looking through the left eyepiece with your left eye, rotate only the
diopter adjustment ring 1 to focus on the specimen.
Using the Eye Shades (Fig. 12)
When Wearing Eyeglasses
Use with the eye shades in the normal, folded-down position. This will
prevent the eyeglasses from being scratched.
When Not Wearing Eyeglasses
Extend the folded eye shades in the direction of the arrow to prevent
extraneous light from entering between the eyepieces and eyes.
(Fig. 10)
(Fig. 11)
