Axvue E610 사용 설명서 - 페이지 5
{카테고리_이름} Axvue E610에 대한 사용 설명서을 온라인으로 검색하거나 PDF를 다운로드하세요. Axvue E610 11 페이지.

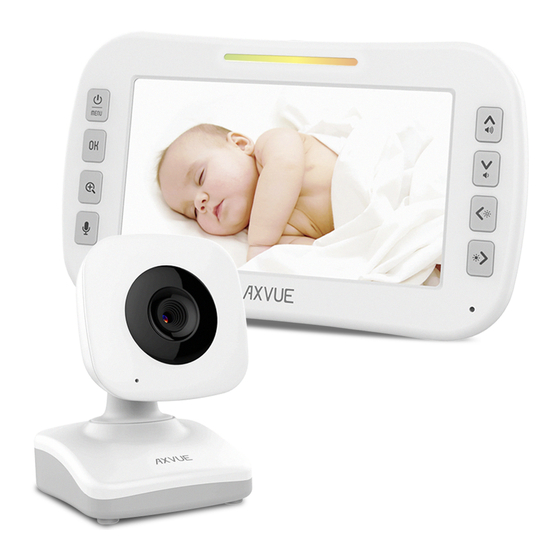
Features
1
Battery Light
2
Power / Menu
3
ENTER
4
Zoom/Select
5
Talk-back
6
UP Key
7
DOWN Key
8
Left Key
9
Right Key
10
Speaker
11
Battery Compartment
12
Kickstand
13
Video On/Off
14
Adapte Jack
15
Camera Lens
16
Nighttime
17
Microphone
18
Power On/Off
19
Screw
20
Adapter Jack
21
Wall hole
22
Speaker
4.3' Monitor 1pcs
Components
Green light indicates that the device is turned on. When the low battery flashes
Volume indicator, the greater the volume, the more lights
Press six seconds switching equipment, short look into the menu mode
Confirm the arrow keys Options
Zoom in or resume the normal screen
Press and hold the camera with the end of the one-way intercom
Turn up the volume level
Turn down the volume level
Increase the brightness level, enter the menu mode, select the left
Decrease the brightness level, enter the menu mode, select the right
Volume level or above may receive when the camera came on
Monitor battery protection
After opening the display in position
Turn on or off the display, press any key to re-open
Display on for three minutes it will automatically shut down to save power
Plug in the power adapter, you can use to monitor the charging and maintenance
Transferring images
Night mode automatically when turned on, does not affect the baby sleep heliocentric
Send Sound
Camera Power turn on/off
Fixed monitor internal parts, do not open the screw
Plug in the power adapter and charge the battery after the opening of electricity use
and maintain
Wiring can buckle and screw the camera fixed on the wall
The monitor receives for outgoing voice
Product and Parts List
Wireless Camera 1pcs
Monitor Battery 1pcs
Power Adapter 2p
