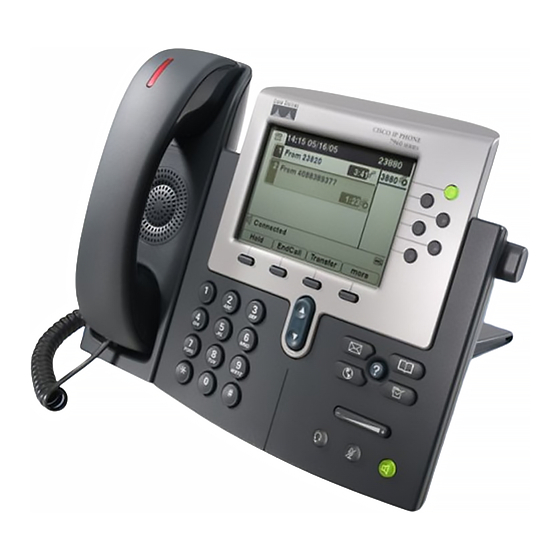
Cisco Unified 7900 Series 사용자 설명서 - 페이지 10
{카테고리_이름} Cisco Unified 7900 Series에 대한 사용자 설명서을 온라인으로 검색하거나 PDF를 다운로드하세요. Cisco Unified 7900 Series 11 페이지. Release notes for firmware release 9.3(1)sr2
Cisco Unified 7900 Series에 대해서도 마찬가지입니다: 시스템 매뉴얼 (50 페이지), 솔루션 매뉴얼 (10 페이지), 시스템 매뉴얼 (36 페이지), 릴리스 정보 (20 페이지)

2.
Enter your Cisco Unified Communications Manager user ID
and PIN, then
press Submit.
Search for a PAB Entry:
1. Access Personal Directory, then choose Personal Address
Book.
2. Enter search criteria and press Submit.
3. You can choose Previous or Next to move through listings.
4. Highlight the PAB listing that you want and press Select.
Dial from a PAB entry:
1. Search for a listing.
2. Highlight the listing and press Select.
3. Press Dial. (You may need to press the more softkey to see
Dial.)
4. Enter the participant's phone number.
5. Highlight the number that you want to dial and press OK.
6. Press OK again to dial the number.
Delete a PAB entry :
1. Search for a listing.
2. Highlight the listing and press Select.
3. Press Delete.
4. Choose OK to confirm the deletion.
Edit a PAB entry :
1. Search for a listing.
2. Highlight the listing and press Edit to modify a name or email
address.
3. If necessary, choose Phones to modify a phone number.
4. Press Update.
Add a new PAB entry :
1. Access Personal Directory, then choose Personal Address
Book.
2. Access the Search page by choosing Submit. (You do not
need to input
search information first.)
3. Press New.
4. Use your phone keypad to enter a name and e-mail
information.
5. Choose Phones and use the keypad to enter phone numbers.
Be sure to
include any necessary access codes such as a 9 or 1.
6. Choose Submit to add the entry to the database.
Assign a Fast Dial code to a PAB entry:
1. Search for a PAB entry.
2. Highlight the listing and press Select.
3. Press Fast Dial.
4. Highlight the number that you want to dial and press Select.
5. Highlight the Fast Dial code that you want to assign to the
number and
press Select.
Add a new Fast Dial code (not using a PAB entry):
1. Press the Directories button > Personal Directory >
Personal Fast Dials..
2. Highlight a Fast Dial code that is unassigned and press Select.
3. Press Assign.
5. Enter a phone number. Make sure you dial 9 + the number
Cisco 7900 SeriesTelephones
Rollins College User Guide
6. Press Update.
Search for Fast Dial codes:
1. Choose > Personal Directory > Personal Fast Dials.
2. You can choose Previous or Next to move through listings.
3. Highlight the listing that you want and press Select.
Place a call using a Fast Dial code:
1. Search for a Fast Dial code.
2. Highlight the listing you want and press Select.
3. Press Dial.
4. Choose OK to complete the action.
Delete a Fast Dial code:
1. Search for a Fast Dial code.
2. Highlight the listing you want and press Select.
3. Press Remove.
Log out of Personal Directory:
1. Choose > Personal Directory (exact name can vary).
2. Choose Logout.
Tips
• Your system administrator can provide you with the user ID
and PIN that you need to log in to
Personal Directory.
• Personal Directory automatically logs you out after a certain
amount of time. This time limit can
vary. Ask your system administrator for more information.
• Use the numbers on your keypad to enter characters on your
phone screen. Use the Navigation
button on your phone to move between input fields.
Using Your Personal Address Book
on the Web
***available beginning on 8/3
This section describes how to use your PAB from your User
Options web pages.
If you want to...
Add a new PAB entry :
Page 10 of 11
Go to your browser and type:
http://support.rollins.edu/phone
Enter Your User Name/ID: example; jsmith
Enter Your password: last six digits of your R-
number
