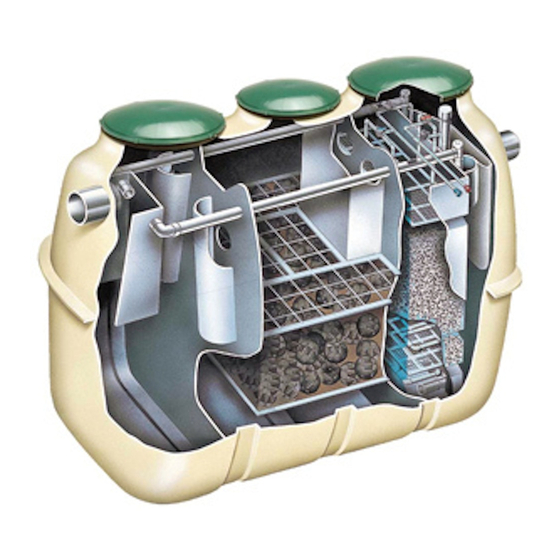
Clarus ZF-450 소유자 매뉴얼 - 페이지 18
{카테고리_이름} Clarus ZF-450에 대한 소유자 매뉴얼을 온라인으로 검색하거나 PDF를 다운로드하세요. Clarus ZF-450 20 페이지. Treatment systems

1.
Disconnect power to the blower and wait five minutes before continuing with service on the unit.
2.
Remove the blower upper housing by first removing the 4 corner screws that attach the housing to the base. (Figure 1)
3.
Remove the sound absorbing felt. Remove the hose band and
remove the L-tube from the chamber block. Repeat for the opposite
side. (Figure 5)
4.
Remove chamber blocks by removing the 4 retaining screws. (Figure 6).
5.
Remove one of the hex lock nuts and washer in the center of the
diaphragm which holds the diaphragm to the rod. (Figure 7).
6.
Remove the diaphragm mounting block from the rod and pull out
the other diaphragm mounting block from the pump body together
with the rod without loosening its hex nut and washer. (Figure 8).
Remove the diaphragm mounting block from the rod by removing
the hex lock nut and washer. (Figure 9).
7.
Attach a new diaphragm mounting block on one side of the rod
using a new hex lock nut and washer.
NOTE: Using old lock nuts or washers can cause the nut to loosen
and cause pump failure. (Figure 9).
8.
Insert the actuating rod in accordance with the gap of the frame.
Secure the diaphragm mounting block on the other side of the
rod and tighten with the new hex lock nut and washer, (Figure
10). Make sure the gaps between the actuating rod and the
electromagnet are even.
HIBLOW Diaphragm Replacement
© Copyright 2020. All rights reserved.
Figure 5
Figure 6
Figure 7
Figure 8
Figure 9
Figure 10
18
