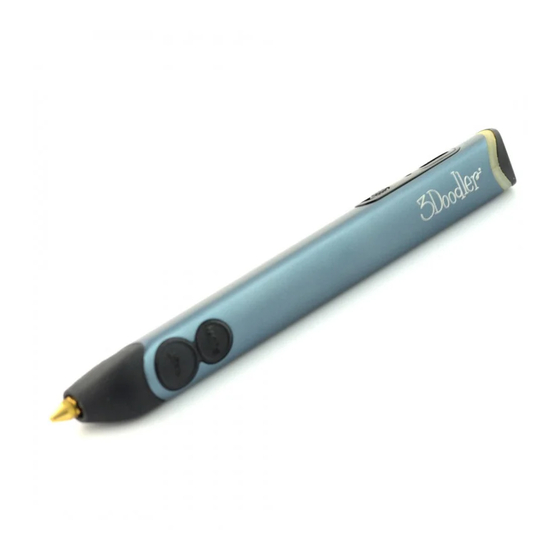
3Doodler Create+ 사용자 설명서 - 페이지 6
{카테고리_이름} 3Doodler Create+에 대한 사용자 설명서을 온라인으로 검색하거나 PDF를 다운로드하세요. 3Doodler Create+ 16 페이지.
3Doodler Create+에 대해서도 마찬가지입니다: 사용자 설명서 (11 페이지)

Step 4: Doodle in the air!
Please read all steps below before you begin
this section, which will teach you how to Doodle
vertically in the air.
1
Extrude Plastic onto a piece
of paper until you have a blob
about the size of a ladybug.
Make sure it is anchored into
the paper.
3
Click the FAST button to stop
extruding, BUT DO NOT MOVE
PEN YET.
5
Pull the Pen away. The line will
remain vertical.
Well done! You just Doodled in the air! This is
a crucial stepping stone to making all kinds of
wonderful three dimensional objects with your
3Doodler Create+.
Step 5: Doodle Even More!
MORE
3Doodler_Bob_User_Manual_MAIN_Inner_20180511.indd 5
x1
For further guides, projects and inspiration,
please refer to:
YouTube videos: Cube
https://www.youtube.com/3Doodler
YouTube videos: Squiggly
https://www.youtube.com/3Doodler
Stencils provided at the back of this manual:
Eiffel tower - P.79-81
Stencils provided at the back of this manual:
Glasses - P.82-83
Community projects for further inspiration
and guidance:
http://the3Doodler.com/community
2
1.5-in
Lift Pen and Plastic up off the
paper in a straight line for 1.5 in.
4
5-6
secs
Wait a few seconds with the Pen
still connected to the top of your
Plastic line.
5
Now tha
to show
changin
types of
Step
Plast
With Pen
for BLUE
Once Plas
it is safe t
Pen by ge
back of th
TIP
After rem
from the
cut and r
melted m
your stra
it into the
This will r
clogging
NOTE
Plastic th
You shoul
use it up.
Section 3,
TIP
Before w
types of
(and whi
ABS (MA
Temp: AB
Light: BLU
Feature:
How to te
semi-circl
PLA (GL
METALL
Temp: PL
Light: GR
Feature:
for artistic
How to te
semi-circl
FLEXY:
Temp: AB
Light: BLU
Feature:
bendable
How to te
11/5/2018 11:37 AM
