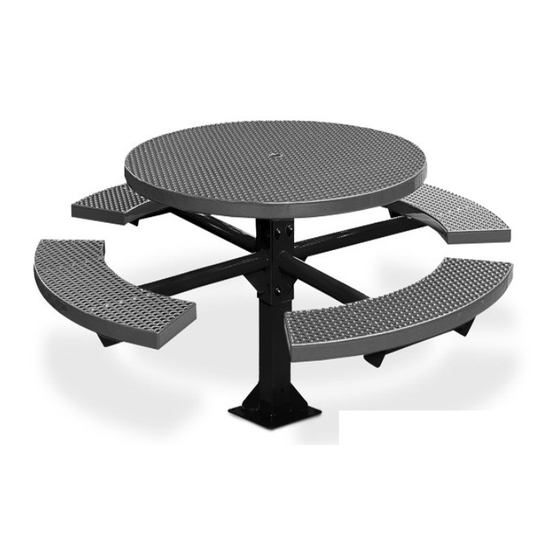
Anova D1404 Assembly Instructions - Page 2
Browse online or download pdf Assembly Instructions for Indoor Furnishing Anova D1404. Anova D1404 2 pages. 46” square table

4. Install the Surface Mount Support to a prepared surface
mount site.
NOTE: If the Support is not secured, the assembly may tip or
fall during subsequent assembly steps.
5. Place one of the seats upside down on the packing cardboard or other soft
work surface. Position one of the Seat Supports so the mounting holes in
the Seat Support line up with the mounting holes on the Seat Frame.
Place one of the 5/16" Washers on one of the 1.25" long Bolts and insert
the Bolt through the Seat Support and Seat Frame mounting holes. Apply a
5/16" Washer and 5/16" Nut to the end of the Bolt and tighten finger tight.
Repeat for the other three mounting holes. After all Bolts are installed, use
the Ratchet with 1/2" Socket and 1/2" Wrench to tighten the Nuts.
Attach the remaining Seats to the remaining Seat Supports in the same
manner.
6. Position two of the Seat Support assemblies on opposite sides of the Surface
Mount Support. Place a 1.375" O.D. Washer onto one of the 5.5" Long Bolts
and insert the Bolt through the mounting holes of the Surface Mount Support
and both Seat Supports. Add a 1.375" O.D. Washer and Nylon Insert Nut to
the end of the Bolt and tighten the Nut finger tight.
Repeat for the other three mounting holes in the Seat Support assemblies.
After all bolts are installed, use the Ratchet with 3/4" Socket and 3/4" Wrench
to tighten the Nuts. Check with a Level and adjust the seat as needed while
tightening. Install the remaining Seat Support assemblies in the same
manner.
7. Position the Tabletop on the Tabletop Adapter so that the mounting
holes in the Frame of the Tabletop align with the mounting holes in the
Tabletop Adapter. Place one of the 5/16" Washers on one of the 1.25"
Long Bolts and insert the Bolt through the Tabletop Frame and the
Tabletop Adapter mounting holes. Apply a 5/16" Washer and 5/16" Nut
to the end of the Bolt and tighten finger tight.
Repeat for the other three mounting holes in the Tabletop and the
Tabletop Adapter. After all Bolts are installed, use the Ratchet with 1/2"
Socket and 1/2" Wrench to tighten the Nuts. Use a Level while tightening
the hardware and adjust the Tabletop as needed while tightening.
8. After two weeks, retighten all hardware.
•
Furniture must not be used other than for its intended purpose and should be inspected regularly for loose,
missing, or broken hardware, and general instability.
•
Furniture that is damaged or appears to be unstable must be removed from service and be repaired or replaced.
warnInG
•
Repairs must be made using only factory authorized parts and methods.
care and
•
Do not drag the assembled unit across any surface.
MaInTenance
•
This product requires only periodic cleaning with a sponge and a solution of mild detergent and water to
remove surface dirt. Do not clean with a solvent or petroleum based products.
211 No
St. Louis, MO 63141
Prepared Surface Mount Site
rth Lindbergh Blvd.
5/16" Washer
5/16" Nut
1.25" long Bolt
5/16" Washer
Cardboard
or other soft
work surface
1.375" O.D. Washer
Nylon Insert Nut
5.5" Long Bolt
1.375" O.D. Washer
5/16" Washer
5/16" Nut
1.25" Long Bolt
5/16" Washer
tel: 888.535.5005
web: anovafurnishings.com
10/2012
