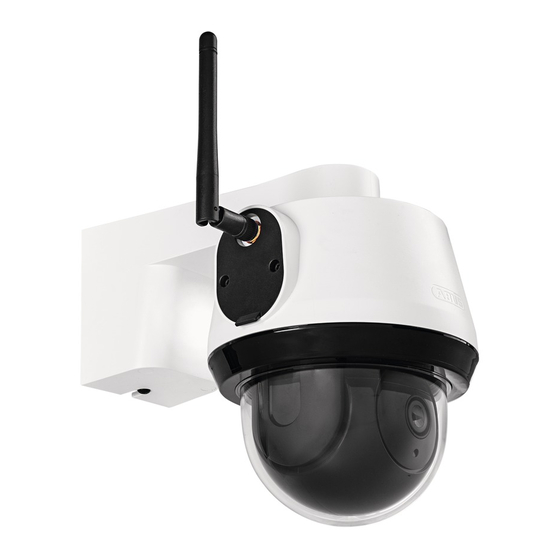
Abus PPIC42520 Quick Manual - Page 8
Browse online or download pdf Quick Manual for Digital Camera Abus PPIC42520. Abus PPIC42520 16 pages. Wi-fi pan tilt outdoor camera

Option 2: Spannungsversorgung Aufputz
Option 2: Power supply surface mounting
1
2
3
4
8
• Trennen Sie die Wandplatte der Halterung von der Kamera mit dem
beiliegenden Innensechskantschlüssel.
• Markieren Sie am gewünschten Einsatzort mithilfe der Bohrschablone
oder der Wandplatte und z. B. einem Stift die Position der benötigten
4 Bohrlöcher.
• Bohren Sie die Löcher und legen Sie die beiliegenden Dübel ein.
• Befestigen Sie Halterung mit den beiliegenden Schrauben
•
Separate the wall plate of the bracket from the camera using the
enclosed Allen key.
•
Mark the required position at the desired location using the drilling
template or the wall plate and, for example, a pencil to mark the
position of the required 4 drill holes.
•
Drill the holes and insert the enclosed dowels.
•
Fasten the holder with the enclosed screws.
• Führen Sie das Stromkabel der Kamera wie in der Darstellung durch
die Halterung und nach unten.
•
Feed the power cable of the camera as shown in the illustration
through the bracket and down.
• Setzen Sie Kamera samt Halterung komplett auf die Wandplatte und
verschrauben Sie die Elemente an der Unterseite der Halterung mit
dem Innensechskantschlüssel.
•
Place the camera and the bracket completely on the wall plate and
screw the elements together on the underside of the bracket using the
the Allen key.
• Verwenden Sie eine handelsübliche wettergeschützte
Installationsdose / Abzweigdose (Breite und Höhe mind. 105 mm,
Tiefe mind. 35 mm) für eine wasserfeste Installation.
• Führen Sie das Kabel der Kamera in die Installationsdose /
Abzweigdose und führen Sie dort die Verkabelung durch.
Für die weitere Installation mit einer Abzweigdose,
beachten Sie die Installationshinweise der Dose.
• Use a commercially available weather-protected installation box
(width and height min. 105 mm, depth min. 35 mm)
for a waterproof installation.
• Guide the camera cable into the installation box and run the cabling
there. For further installation with an installation box, follow the
installation instructions for the box.
