Great Little Trading Lulworth Manual - Page 5
Browse online or download pdf Manual for Indoor Furnishing Great Little Trading Lulworth. Great Little Trading Lulworth 15 pages. Chest of drawers
Also for Great Little Trading Lulworth: Manual (7 pages), Manual (13 pages)
STEP 1:
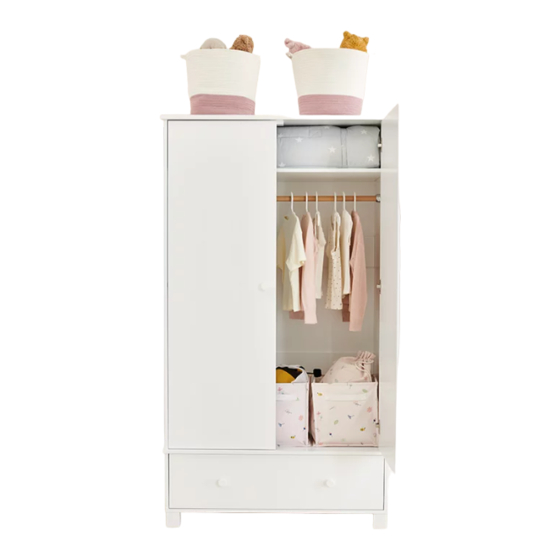
Firstly, decide on the desired height of the hanging rail.
There are three positions to choose from. The illustration shows the use of
the recommended middle position that gives you the use of the rail and also
allows you to use the shelf (see later step).
The lower position can be used when the child is younger or their clothes are
shorter.
The highest position is there for when the child is older and their clothes are longer.
Please note: this higher position does require the removal of the shelf.
Once the position is decided, attach the 2x rail mounting plates (#3) to
BOTH side panels (A & B) using 4x screws (#8).
Please ensure you use the correct #8 hardware here. There is a similar sized
hardware used later. Please use the thinner screws here.
Now, using a Philips screwdriver, insert 4x cam dowels (#1) into the holes
along the edge of BOTH side panels as shown.
BASE
2x
Hardware for Step 1:
TOP
8x #1 Cam Dowels
#8
2x
2x #3 Rail Mount Plates
BACK
4x #8 Screws
(3.5mm x 12mmL)
TOP
#3
#8
2x
A
BACK
#1
2x
#1
#3
B
2x
#1
2x
#1
Hardware for Step 2:
6x #1 Cam Dowels
STEP 2:
Using a Philips screwdriver, prepare top panel (D) by inserting 6x cam dowels
(#1) in the holes shown.
Note: The block on the underside of the panel indicates the front of the panel.
Please note the correct position of this hardware - there are more drill holes here
that will be used on the next stages.
STEP 3:
Note: Two people are needed for this step. You will be building this wardrobe
face up, so the back of the unit will be on the floor.
Align panels (A) and (B) as shown ensuring that the groove along the long
edge is to the floor. Position and connect 2x panels (C) ensuring the large drill
holes are facing down so you cannot see them.
DO NOT turn the unit over to fix these panels in place, this step will be
completed at a later stage.
BASE
5
#1
#1
#1
TOP
A
BACK
C
C
BASE
FRONT
D
#1
#1
#1
B
BACK