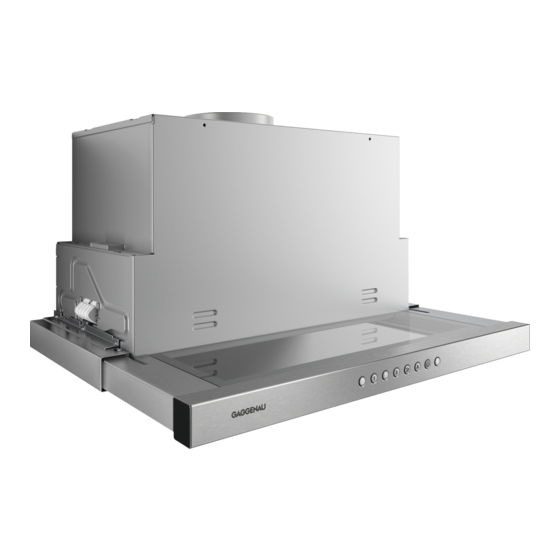
Gaggenau AF210162 User Manual And Assembly Instructions - Page 7
Browse online or download pdf User Manual And Assembly Instructions for Ventilation Hood Gaggenau AF210162. Gaggenau AF210162 16 pages.
Also for Gaggenau AF210162: User Manual And Installation Instructions (16 pages)

Press and hold
and
▶
prox. three seconds until a signal sounds.
6.12 Switching off the audible signal
Requirement: The appliance is switched off.
Press and hold
and
▶
prox. three seconds until a signal sounds.
6.13 Sensor control
In automatic mode, a sensor in the appliance detects
the intensity of the cooking and roasting fumes. De-
pending on the setting of the sensor sensitivity, the op-
timum fan setting is automatically switched on. If the
sensor control system reacts too weakly or too
strongly, the setting for the sensor sensitivity may
change.
¡ Factory setting: 2
¡ Lowest setting: 1
¡ Highest setting: 4
7
Cleaning and servicing
To keep your appliance working efficiently for a long
time, it is important to clean and maintain it carefully.
7.1 Cleaning products
You can obtain suitable cleaning products from after-
sales service or the online shop.
WARNING ‒ Risk of electric shock!
An ingress of moisture can cause an electric shock.
Before cleaning, pull out the mains plug or switch
▶
off the fuse in the fuse box.
Do not use steam- or high-pressure cleaners to
▶
clean the appliance.
WARNING ‒ Risk of burns!
The appliance will become hot during operation.
Allow the appliance to cool down before cleaning it.
▶
ATTENTION!
Unsuitable cleaning products may damage the sur-
faces of the appliance.
Do not use harsh or abrasive detergents.
▶
Do not use cleaning products with a high alcohol
▶
content.
Do not use hard scouring pads or cleaning
▶
sponges.
Do not use any special cleaners for cleaning the ap-
▶
pliance while it is hot.
Only use glass cleaners, glass scrapers or stainless
▶
steel care products if recommended in the cleaning
instructions for the relevant part.
Wash sponge cloths thoroughly before use.
▶
at the same time for ap-
at the same time for ap-
6.14 Setting the sensor control
Press and hold
for approx. four seconds until the
1.
setting is displayed.
Press , ,
or
to change the setting.
2.
To save the setting, press and hold for ap-
3.
prox. four seconds.
6.15 Resetting the saturation indicator
After cleaning the grease filter or after changing the
odour filter, the saturation indicator can be reset.
Requirements
¡ After the appliance has been switched off,
pears in the display for the grease filter.
¡ A signal sounds repeatedly.
To reset the saturation indicator for the grease filter,
▶
press
.
a The saturation indicator is reset.
7.2 Cleaning the appliance
Clean the appliance as specified. This will ensure that
the different parts and surfaces of the appliance are
not damaged by incorrect cleaning or unsuitable clean-
ing products.
WARNING ‒ Risk of explosion!
Highly caustic alkaline or highly acidic cleaning agents
in conjunction with aluminium parts in the interior of the
appliance may cause explosions.
Never use highly caustic alkaline or highly acidic
▶
cleaning agents. In particular, do not use commer-
cial or industrial cleaning agents in conjunction with
aluminium parts, e.g. grease filter on extractor
hoods.
WARNING ‒ Risk of electric shock!
An ingress of moisture can cause an electric shock.
Before cleaning, pull out the mains plug or switch
▶
off the fuse in the fuse box.
Do not use steam- or high-pressure cleaners to
▶
clean the appliance.
WARNING ‒ Risk of burns!
The appliance will become hot during operation.
Allow the appliance to cool down before cleaning it.
▶
WARNING ‒ Risk of injury!
Components inside the appliance may have sharp
edges.
Carefully clean the appliance interior.
▶
Observe the information regarding the cleaning
1.
agents.
→ "Cleaning products", Page 7
Clean as follows, depending on the surface:
2.
Clean stainless steel surfaces in the direction of
‒
the finish using a sponge cloth and hot soapy
water.
Cleaning and servicing en
ap-
7
