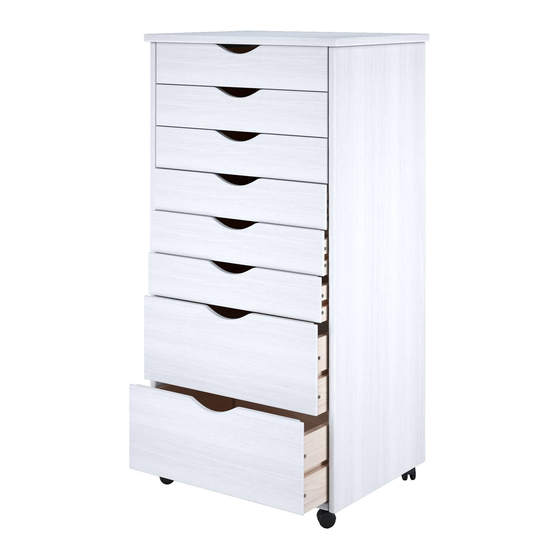
adeptus 6+2 Drawer Wide Roll Cart 76169 Assembly Instructions Manual - Page 6
Browse online or download pdf Assembly Instructions Manual for Indoor Furnishing adeptus 6+2 Drawer Wide Roll Cart 76169. adeptus 6+2 Drawer Wide Roll Cart 76169 8 pages. Matte black/white finish

4
ATTACH THE BACK PANEL
Use all back
panels nails.
Evenly spaced,
they help make
the unit strong.
• HOLD THE (PART 4) BACK PANEL IN THE
GROOVES INSIDE THE UNIT´S SIDES.
• ALSO MAKE SURE THE BACK PANEL FITS IN THE
GROOVE AT THE BACK OF THE TOP.
• CHECK THAT THE UNIT IS SQUARE.
• SECURE THE (PART 4) BACK PANEL USING THE (PART F)
NAILS.
F=28
Nail
5
ASSEMBLE THE SMALL DRAWERS
• LINE UP THE BOTTOM EDGE OF THE DRAWER
SIDE (PART 8) WITH THE BOTTOM EDGE OF THE
DRAWER FRONT (PART 11).
• JOIN THE PARTS USING TWO SCREWS (PART B)
AS SHOWN IN THE DIAGRAM.
NOTE: THE SCREWS' SHARP TIPS ARE SELF TAPPING, SO THE
DRAWER FRONT DOES NOT NEED A PILOT HOLE. THE SHARP
TIP STARTS THE HOLE, AND THE SCREW THREADS WILL
SECURE THE PART IN PLACE FOR A TIGHT FIT.
• REPEAT ON THE OTHER SIDE OF THE DRAWER.
• SLIDE IN DRAWER BOTTOM (PART 10) TROUGH
GROOVES IN THE DRAWER SIDES (PART 8). THIS WILL
START SQUARING UP THE DRAWER.
• LINE UP DRAWER BACK (PART 9) WITH BOTH DRAWER
SIDES (PART 8). CHECK THAT IT IS SQUARE.
• SCREW THE DRAWER BACK (PART 9) TO THE DRAWER
SIDES (PART 8).
• TURN THE DRAWER OVER. CONFIRM THE DRAWER BOTTOM
(PART 10) COVERS THE DRAWER BACK (PART 9). NAIL THE
DRAWER BOTTOM (PART 10) THROUGH TO THE DRAWER
BACK (PART 9) USING (2) NAILS (PART F).
B=48
F=12
Screw
Nail
3,0 x 25mm
F
F
F
F
F
F
F
F
F
F
F
F
F
F
11
8
B
TIP: To make this step easier, place the drawer upside
down on a counter with the drawer front hanging off
the edge. This will allow the drawer box to lay flat and
provide better control for hammering the nails.
6/8
CONTAINED
F
F
F
F
F
F
4
F
F
F
F
F
F
F
F
F
F
F
8
6X
10
8 9
F
F
