Game Winner FSGWCO5009 Assembly Instructions And User's Manual - Page 5
Browse online or download pdf Assembly Instructions And User's Manual for Kitchen Appliances Game Winner FSGWCO5009. Game Winner FSGWCO5009 12 pages. 26 sq ft. professional dehydrator
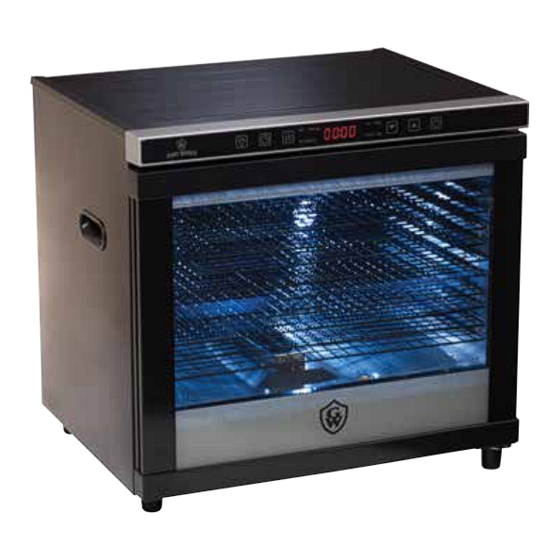
HOW TO USE YOUR NEW DEHYDRATOR
Assembly Instructions:
CAUTION: BEFORE ASSEMBLING OR CLEANING THE DEHYDRATOR MAKE SURE POWER
SWITCH IS TURNED OFF AND UNIT IS UNPLUGGED FROM ANY POWER SOURCE
Assembly is a simple process.
1. Remove the drying racks and any loose items from the unit, then close the door.
2. Carefully place the dehydrator on its left side on top of a soft cloth or surface to prevent any
scratches. NOTE: DO NOT PLACE ON THE RIGHT SIDE WHICH MAY CAUSE THE DOOR
TO OPEN AND BECOME DAMAGED. DO NOT PLACE ON ITS FRONT OR BACK SIDE TO
AVOID DAMAGING COMPONENTS.
3. Work on the front feet of the unit first. Locate the short feet bolts and the feet that attach to
them.Insert the short feet bolts into the holes of the front feet of the dehydrator until they
extend enough for you to attach the feet.
4. Tighten the short feet bolts with a screwdriver.
5. Insert the long feet bolts into the hole at the bottom of the unit they extend enough to attach
the feet.
6. Tighten the long feet bolts with a screwdriver.
7. Carefully stand the unit to its proper upright position, making sure to hold the door closed to
avoid damaging it.
Operating Instructions:
1. Make sure to remove all packaging.
2. Wash and dry all parts prior to use.
3. Plug in unit. Exercise caution if using an extension cord.
4. Turn the power on by pushing the touch screen button located furthest right at the top panel.
5. Remove racks and place food items to be dried onto the racks.
6. Load the racks into the dehydrator. NOTE: The top three racks have a notch on the back to
prevent the racks from touching the temperature sensor.
7. Make sure door is firmly closed.
8. NOTE: THE BUTTON AT THE FURTHEST LEFT IS AN INTERNAL LIGHT FOR YOUR
CONVENIENCE. Begin programming the unit by pressing the clock button located second
from the furthest left of the panel. Use the UP "^" and DOWN "v" buttons on the right side of
the panel to set hours of operation (24 Hour Maximum). Press the clock button a second time
to set minutes if desired (1 minute increments).
9. To set the temperature, press the button located to the right of the clock button. Use the
UP and DOWN buttons to set the temperature (160 degree max, 50 degree min, 5 degree
increments).
10. The dehydrator will automatically start after a short delay. You will hear 8 beeps at startup and
then again when the temperature inside reaches the preset level.
11. If you have to pause during programming, the unit may start after a delay. This is normal, just
continue finishing your programming as soon as possible.
Page 4 of 11