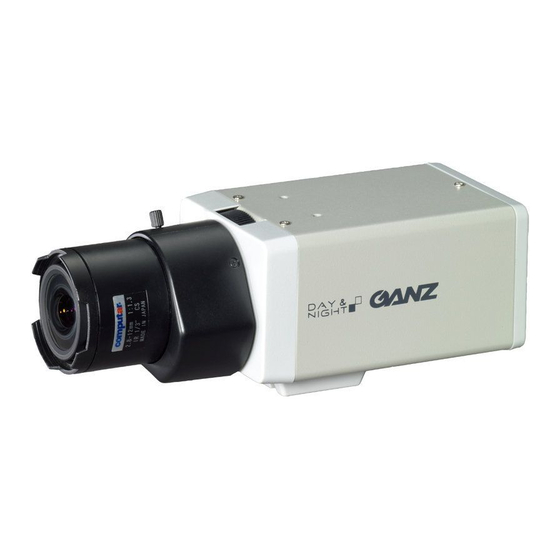
Ganz ZC-NH250N Instructions For Use Manual - Page 11
Browse online or download pdf Instructions For Use Manual for Security Camera Ganz ZC-NH250N. Ganz ZC-NH250N 17 pages. Image sensor camera

US
1 Flange back adjustment wheel
If the focus needs to be adjusted after the lens has been mounted, loosen the fl ange back locking screw
(
) and rotate the adjustment wheel to adjust.
9
2 DC iris level adjust POT
Adjust DC iris level manually.
Easy Focus adjustment
Be sure to adjust the lens focus only in a well-lit environment. When using a DC iris lens, set the auto-iris
mode switch (
) to AES, and then make the focus adjustment. After the adjustment, be sure to return
bk
switch (
) to DC.
bk
3 WB (White Balance) switch
AWB : Will set fi xed white balance.
ATW : The white balance will be automatically adjusted following any changes in the color
temperature of a light source.
4 FLC switch
ON :
Shutter speed to be fi xed at 1/100 sec.
OFF :
Normal position (Fixed at 1/60 second)
5 BLC (Back Light Compensation) mode switch
When strong light (sun, sky, illumination, etc.) is present behind the object being
photographed, the object will appear dark. In this case, put this switch in the
BLC position.
6 Sync mode switch
For setting the sync mode.
L.L. :
Line Lock mode
INT. :
Internal sync mode
7 Line phase adjustment POT
This POT is used to adjust phase when the Sync mode switch is set to L.L. position.
8 Auto-iris output connector
For connecting the cable of an auto-iris lens. The pin assignment is following.
No.
DC
1
CONTROL –
2
CONTROL +
3
DRIVE +
4
DRIVE –
9 Flange back locking screw
bk Auto Iris mode switch
For switching the output from the auto-iris connector (
DC :
To be set when using a non-amp auto-iris lens.
AES :
To be set when using fi xed iris lens
VIDEO : To be set when using an auto-iris lens a built-in amp.
bl Video output connector
Connected to the TV monitor with a coaxial cable.
bm Power input terminal
Use a DC 12 V (10.8 to 13.2 V) or AC 24 V (21.6 to 26.4 V, 59 to 61 Hz) power supply.
Caution: Use only with a 24 V AC power supply marked class 2 or +12 V DC power supply
bn B/W Mode Fix terminal
The picture mode can be fi xed at B/W by shorting the two contacts on the B/W Mode Fix terminal (for
details, see the fi gure on page 10). Fixing the picture mode at B/W can prevent the picture from having
optical oscillation, a phenomenon in which continuous switching between color mode and B/W mode
occurs under infrared illumination.
Instructions when using an infrared lamp
Always check the brightness of an infrared lamp which is to be used with this product. Excessive infrared
illumination may cause optical oscillation. Refer to section (
order to avoid optical oscillation under excessive infrared illumination.
Description of functions
VIDEO
DC 12 V (max. 50 mA)
N. C.
VIDEO
GND
).
8
) above and fi x the picture mode at B/W in
bn
BLC
OFF
