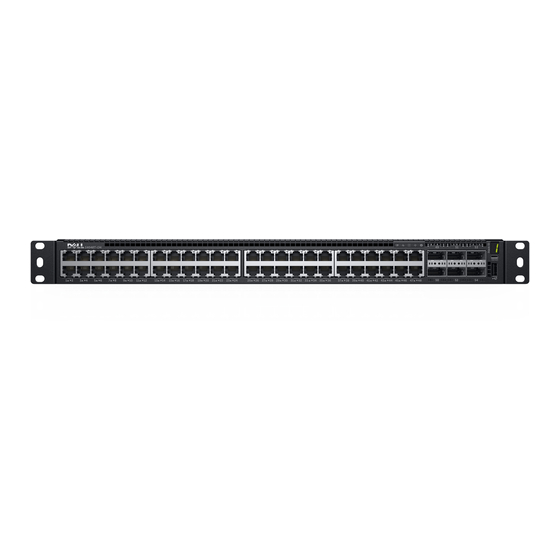
Dell S4048T-ON Getting Started Manual - Page 8
Browse online or download pdf Getting Started Manual for Switch Dell S4048T-ON. Dell S4048T-ON 35 pages.

CAUTION:
Always wear an electrostatic discharge (ESD)-preventive wrist or heel
ground strap when handling a system and its components. As with all electrical
devices of this type, take all necessary safety precautions to prevent injury when
installing this system. ESD damage can occur if components are mishandled.
CAUTION:
Only trained and qualified personnel should install this equipment. Read
this guide before installing and powering up the system.
WARNING:
This section is a condensed reference. Read the safety instructions in
your Safety, Environmental, and Regulatory information booklet before you begin.
Ground and bracket installation
Install the ground (GND) lug and bracket assembly, with a ground wire attached, before you
install the S4048T-ON switch in a rack.
Dell supplies a kit with the following:
•
One two-hole UL-certified GND lug
•
L-bracket
•
Two flat head screws to attach the lug to the bracket
•
Two pan head screws to attach the assembly to the chassis
You must supply:
•
A wire that complies with your local electrical codes in size and color. Typically the wire is
14 AWG, colored green or green with a yellow stripe.
•
An anti-oxidant compound—Dell recommends NOALOX 4 or equivalent.
•
A crimping tool.
•
A thread-locker compound—Dell recommends Threadlocker Blue 242 or equivalent.
1
Attach the end of the ground wire to the GND lug:
a
Coat the bare end of the wire with an anti-oxidant compound.
b Insert the end of the wire into the lug.
c
Crimp the lug end to secure the connection of wire to lug.
8
Hardware installation
