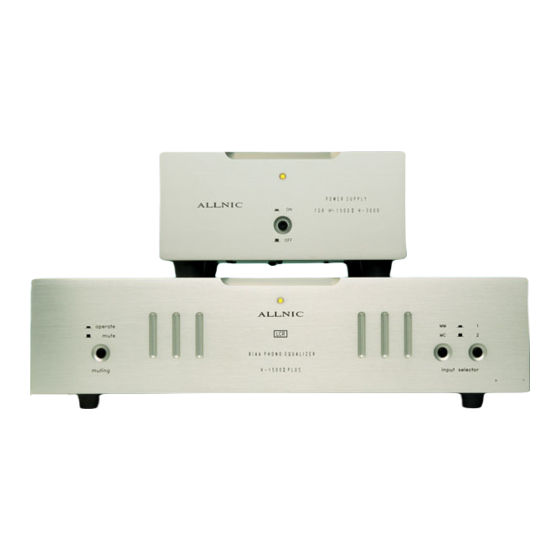
ALLNIC AUDIO H?1500 II PLUS PHONO STAGE Owner's Manual - Page 7
Browse online or download pdf Owner's Manual for Amplifier ALLNIC AUDIO H?1500 II PLUS PHONO STAGE. ALLNIC AUDIO H?1500 II PLUS PHONO STAGE 12 pages. Phono stage

button switch on the front panel of the phono
stage , while the right hand vertically aligned pair
is input 2.
To the left of the four MC RCA input connections
is a screw type connector. This connector is the
ground connection for a ground wire from a
cartridge and/or turntable if you are using a
moving coil cartridge. To the right of the four MM
RCA input connections is another screw type
connector. This connector is the ground
connection for a ground wire from a cartridge
and/or turntable if you are using a moving magnet
cartridge.
When you are facing the front of the H‐1500 II PLUS,
the two pairs of MC connections are on the far right
of the unit, with the two MM connections
immediately to their left.
The H‐1500 II PLUS has been designed and
manufactured to work most synergistically with
Allnic Audio preamplifiers, pre‐phono stages and
equalization products.
D.
OUTPUTS
The H‐1500 II PLUS is equipped with one pair of
single‐ended (RCA) outputs. The right and left
channel output connections are also aligned
vertically under the label "Output" just to the
left of the DC Source Input (See Figure 1), with
the left channel output at the top and the right
channel output connection at the bottom.
Facing the front of the phono stage, the output
connections are to the immediate right of the
power umbilical cord connection.
E.
Moving Coil (MC) Transformer Controls
On the top of the chassis, on the right if you are
looking down facing the front of the phono stage,
two transformer controls are accessible through
cutouts in the top of the chassis. There is a control
for each channel.
The "X#" scale corresponds to the factor that you
will select for the millivolt output of your selected
MC cartridge. Each position on the X# scale corresponds
to an increase in gain, indicated on the +#dB scale. You
should use identical settings for both transformers to
avoid channel imbalance.
Use a coin or other appropriately shaped object to select
the gain factor. We encourage experimentation for each
of your favourite moving coil cartridges.
F.
A NOTE ON PHASE
Phase issues generally will result in lack of bass and/or
focus of the stereo image. You may need to reverse
connections on your cartridge if you are having phase
issues. As is usual in these circumstances, some trial and
error experimentation may be required to find the correct
position. . Of course, the entire process is simplified if
your preamplifier has a phase control, as do the Allnic
Audio L‐1500 and L‐4000 preamplifiers.
G.
IMPEDANCE
In the Specifications at the end of this manual, you
will read that the moving coil (MC) input impedance
for the H‐1500 II PLUS is up to 117 ohms. This value
represents the internal impedance of the cartridge
itself, and is at the extreme upper end of what would
be expected for the internal impedance of an MC
cartridge. It would be exceptionally unusual to find a
cartridge with internal impedance greater than that
value. In fact, however, the MC step‐up transformer in
the H‐1500 II PLUS can accept cartridges with up to
470 ohms internal impedance.
INITIAL POWER‐ON
Once you have your H‐1500 II PLUS in place and all
connections have been made to your turntable and
preamplifier, you are ready to turn on the power for
your H‐1500 II PLUS. Before you power up the H‐1500
II PLUS, though, be sure you have:
•
turned the volume down or otherwise muted your
preamplifier
•
pressed the button switch on the left hand side of
the front panel of the phono stage, labeled
"muting" below and having button in and out
icons for operate and mute, respectively, to the
7
