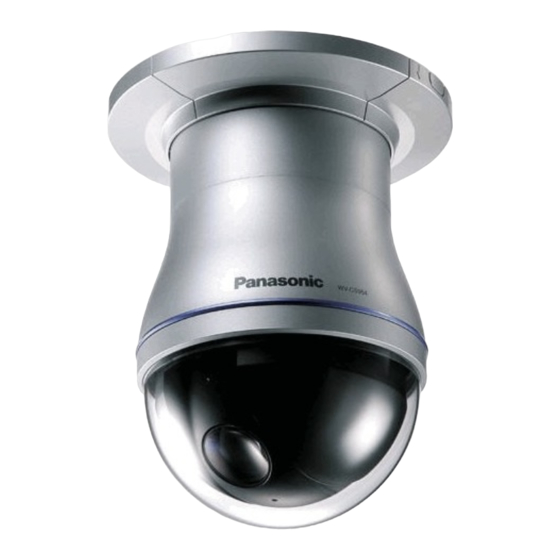
Step 9
Fix the camera onto the base unit using the removed
screw in step 1.
Step 10
Check if the installation has been made successfully.
• Check the following.
The camera is firmly installed, not installed tilted.
The camera is firmly installed, not installed loose.
The fixed part of the camera cannot be rotated
even when trying to rotate it.
Step 11
Connect the cables.
• Refer to page 20 for how to connect the cables.
Step 12
Separate the provided decorative cover into 2 pieces.
• Release the stoppers by pressing the [*] parts of
the decorative cover as shown in the illustration.
* Direction of the pressing force (b) is indicated on
the side of the decorative cover.
Rear view
Release the stoppers
Hold one of 2 pieces securely
and disengage them.
Important:
When pressing to the reverse direction, it may
damage the decorative cover.
18
Hold one of 2 pieces
securely and
disengage them.
Push
Push
Step 13
Attach the decorative cover to the camera.
• Position the pieces of the decorative cover that
have been split in step 12 to tuck down the camera
body, and then attach them together.
Fit up the stoppers as shown in the illustration.
Hold one of 2 pieces securely
and engage them.
Rear view
Hook the
stoppers
Step 14
Fix the decorative cover.
• When pulling out the cables from the hole in the
ceiling, press the decorative cover to the ceiling
with force.
• When pulling out the cables from the side of the
decorative cover, press the decorative cover to the
ceiling with force while aligning the cables to the
fabricated cable hole of the decorative cover.
[When wiring through a hole in a ceiling]
[When wiring through the wiring hole of the decorative
cover]
Attach the fabricated parts
Push
Push

