Amroad ID5101 Snelle installatiehandleiding - Pagina 3
Blader online of download pdf Snelle installatiehandleiding voor {categorie_naam} Amroad ID5101. Amroad ID5101 4 pagina's. Home station
Ook voor Amroad ID5101: Installatiehandleiding (20 pagina's)

GAS Detector
Door Bell Button
There are two ways to configure ID5101. One is "Configure via Web UI", the other is
"Configure on ID5101".
Configure via Web UI
This section describes how to configure your ID5101 with Web User Interface. This UI
also provides remote management capability to service provider.
Network Setting
NOTE: After Log in Web UI, Language on the first page allows you to select
language "English" or "Traditional Chinese" and let the language be
displayed on your ID5101 GUI.
800-0000007-00-00
NOTE: The 3rd GPIO connector is
used to connect CO Sensor,
Emergency Button, Gas Detector,
and Door Bell Button.
Input IP address of your ID5101
NOTE 1: To obtain IP address of your
ID5101.
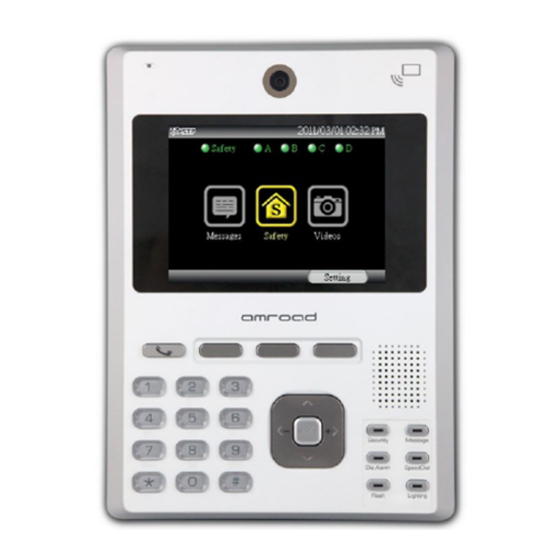
Select Setting
soft-function key
Network Setting on your ID5101
default:1234)
(with password:
IP Address
And you will find IP address of the
ID5101 on the network.
NOTE 2: The default ID and
password for system login
are "admin" and "admin".
Item
Description
MAC Address
This is a quasi-unique identifier attached to most network
adapters.
IP Type
The default value is DHCP Client.
There are three options: DHCP Client, Static IP and PPPoE.
A. DHCP Client: The system will automatically assign you an
IP address.
B. Static IP: you have to input IP address, Subnet Mask,
Default Gateway, Primary DNS and Secondary DNS data.
C. PPPoE: This allows you to set Internet connection with
User Name and Password.
Save
Click this button to save your setting.
SIP Setting
Item
Description
Display Name
This name will show on the IP phone of called parties. You
can fill in the preferred name here.
For example, 807
User Number
You may fill in the phone number here, normally it is provided
by service provider. To work with IP PBX, you may fill in
extension number. For example, 807
Account ID
You may fill in your account name of SIP service in this field.
For example, 807
Account
You may fill in the password of your SIP service account.
Password
For example, 807
Service
You may select "Enable" or "Disable" the SIP Proxy Server in
the dropdown menu.
NOTE: For Peer-to-Peer mode, both devices (ID5101 and
IP Address
You may fill in the IP address of SIP Proxy Server in this field.
IP Address
You may fill in the IP address of SIP Registrar Server here.
Registration
The default is 3600 seconds.
Expire Time
Protocol
You may select network communication protocol of the SIP
service here. There are 2 options: UDP and TCP.
Default setting is UDP protocol.
SIP TOS
You may enable Tag-of-Service of SIP protocol here.
RTP TOS
You may enable Tag-of-Service of RTP protocol here.
Save
Click this button to save your setting.
Safety & Security – Device setting
This webpage is used to configure Safety and Security devices.
There are 8 Input ports (DI1~DI8) and 4 Output ports (DO1~DO4) available on
ID5101 GPIO module.
Moreover, DI1-DI4 are for MS (Magnetic Sensors), DI5-DI8 are for CO sensor,
Emergency Button, Gas detector, and Door Dell.
DO1-DO3 are for Lighting, Lighting, Alarm. (DO4 is reserved).
3
SIP Setting page
Authentication
SIP Proxy Server
remote device) need to select Disable in the
dropdown menu. And, fill in each other's IP address.
SIP Registrar Server
