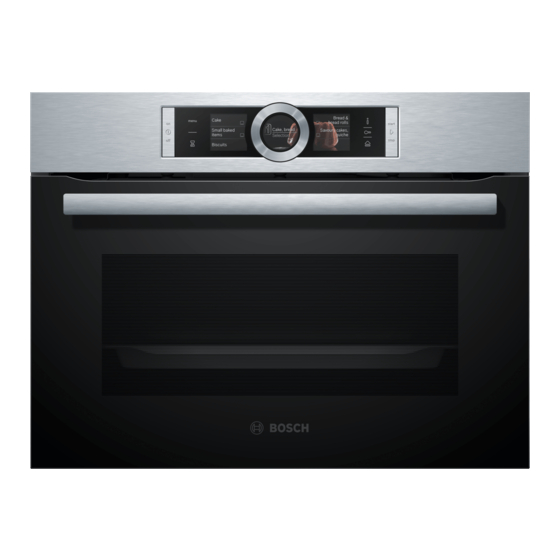
Bosch CSG656R.1A Gebruikershandleiding en installatie-instructies - Pagina 13
Blader online of download pdf Gebruikershandleiding en installatie-instructies voor {categorie_naam} Bosch CSG656R.1A. Bosch CSG656R.1A 48 pagina's.

Press
to start.
6.
Keep the kitchen ventilated while the appliance is
‒
heating.
a Calibration starts. This creates a lot of steam.
a Once the time has elapsed, an audible signal
sounds and the display shows the time as zero.
Allow the appliance to cool down and then dry the
7.
cooking compartment floor thoroughly.
8.
ATTENTION!
If there is water on the cooking compartment floor
when operating the appliance at temperatures
above 120 °C, this will damage the enamel.
Do not use the appliance if there is water on the
▶
cooking compartment floor.
Wipe away any water on the cooking compart-
▶
ment floor before operation.
Apply the following settings:
Type of heating
Temperature
Cooking time
→ "Basic operation", Page 13
8 Basic operation
8.1 Switching on the appliance
Press
to switch the appliance on.
▶
a The Bosch logo appears in the display. The types of
heating then appear.
8.2 Switching off the appliance
Switch your appliance off when you are not using it.
The appliance will switch itself off automatically if it is
not used for a certain period of time.
Press
to switch the appliance off.
▶
a The appliance switches off. Any functions currently
in progress are cancelled.
a The time or residual heat indicator appears in the
display.
8.3 Starting operation
You must start each operation.
ATTENTION!
If there is water on the cooking compartment floor
when operating the appliance at temperatures above
120 °C, this will damage the enamel.
Do not use the appliance if there is water on the
▶
cooking compartment floor.
Wipe away any water on the cooking compartment
▶
floor before operation.
Press
to start.
▶
a The settings, the running time, the display ring and
the heating line appear in the display.
4D hot air
Maximum
30 minutes
Press
to start.
9.
Keep the kitchen ventilated while the appliance is
‒
heating.
a Once the time has elapsed, an audible signal
sounds and the display shows the time as zero.
Press
to switch the appliance off.
10.
Once the appliance has cooled down, clean the
11.
smooth surfaces in the cooking compartment with
soapy water and a dish cloth.
Clean the accessories thoroughly using soapy water
12.
and a dish cloth or soft brush.
Empty the water tank and dry the cooking compart-
13.
ment.
→ "After every steam operation", Page 18
Note: Following a power cut, the calibrated settings are
retained.
To adjust the appliance to a new installation location
after moving house, reset the basic settings to the fact-
ory settings. Carry out the procedures for initial start-up
and calibration again.
8.4 Pausing or cancelling operation
You can briefly pause operation and then continue. If
you cancel operation completely, the settings will be re-
set.
To pause operation briefly:
1.
Briefly press .
‒
To continue operation, press .
‒
To cancel operation completely, press and hold
2.
for approx. 3 seconds.
a Operation will stop and all the settings will be reset.
8.5 Setting the operating mode
Once you have switched on the appliance, it suggests
an operating mode, e.g. types of heating.
If you want to use a different operating mode to the
1.
one suggested, press
a The list of operating modes is displayed.
→ "Operating modes", Page 8
2.
Press the operating mode that you want to use.
To implement other settings, press the relevant text
3.
fields.
4.
Use the control ring to change the values.
Press
to start.
5.
8.6 Setting the type of heating and
temperature
Requirement: The operating mode "Types of heating"
has been selected.
Press the type of heating that you want to use.
1.
If you cannot see the type of heating in the touch
displays, use the control ring to scroll though the se-
lection list.
a The temperature is highlighted in white.
Use the control ring to set the temperature.
2.
Basic operation en
.
13
