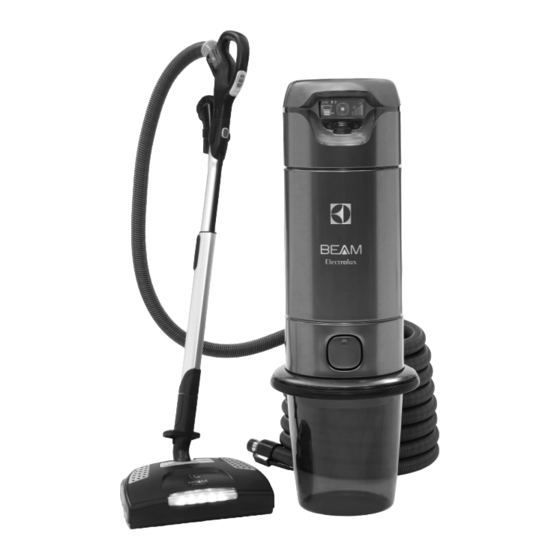
Electrolux Beam Alliance Bedieningshandleiding - Pagina 10
Blader online of download pdf Bedieningshandleiding voor {categorie_naam} Electrolux Beam Alliance. Electrolux Beam Alliance 13 pagina's. Central vacuum system
Ook voor Electrolux Beam Alliance: Bedieningshandleiding (36 pagina's), Bedieningshandleiding (16 pagina's)

SERVICE INFORMATION
The instructions in this booklet serve as a guide for routine operation and maintenance. For further
Information contact your local authorized dealer/distributor
BEAM ALLIANCE LED/LCD ICON CHART
SYMBOL
or
g
10
DESCRIPTION
ON/OFF Button
Navigation Buttons
Clock
Communication Link
Screen Saver
Variable Speed Indicator
Empty Bucket Indicator
Performance Bars
Flashing Performance Bars Alert
Motor Fault Indicators
Error Codes
AVAILABILITY
Standard
Turns power unit on or off
On select models
These buttons are located below
the display screen. Use to modify
time or reset empty bucket indicator
On select models
A digital clock is located on the top
left corner of the display screen of
On select models
The communication link icon
appears at the top of the power
when the hose connection into the
inlet valve is complete and the hose
handle is communicating with the
On select models
When the power unit wakes from
sleep mode, the screen saver icon
will appear for 2-3 seconds before
disappearing and other icons will
On select models
When the power unit is on, the
fan blades on the screen will
spin relative to the speed/suction
indicated on the hose handle
On select models
The empty bucket indicator is
timed to remind you to empty your
dirt bucket. The power unit will
communicate with the hose handle
signalling fan blades to ash red
On select models
3 - 4 bars indicate the system is
performing at the optimum level.
Performance levels will change
depending on the variable speed
settings and during the use of
specialty attachments
On select models
When 2 bars or less are illuminated,
the air ow of your power unit is
exceptionally restricted. The power
unit will communicate to the hose
handle and ashing red fan blades
Standard
Indicates a system fault or
malfunction. This symbol may
occur due to one of the following:
1) Maximum system run time
exceeded; 2) Electronics problem;
3) Power surges; 4) Motor failure; 5)
Mechanical failure
On select models
Error codes de ned:
ER 1: Under current
ER 2: Over current short
ER 3: 30-minute time out
ER 4: Over current long
ER 5: Line error or off current
MEANING
ACTION REQUIRED
Scroll through using Left ( < ) or
Right ( > ) buttons to appropriate
icon. When the appropriate
selection is highlighted, hold the
Enter (
You can choose from either a 12
or 24 hour clock. To set time, use
the power unit
the (<) and (>) buttons to arrive at
the correct time. Press Enter (
when your selections are complete
power unit
appear
Empty dirt bucket and reset the
system by pushing one of the two
reset buttons and holding for 5
Check for blockage if performance
bars uctuate under normal
vacuuming conditions
Check to ensure the dirt bucket
is not overloaded. Check for
blockages in the system. Check for
motor wear (contact an authorized
service technician)
will display
Turn on and off the power unit. This
may reset the system. If this fails,
unplug the power unit and call an
authorized technician
Turn off and unplug power unit
and call an authorized technician.
For further detail on error codes,
contact your authorized service
None
) button down for 5
seconds
)
None
None
None
seconds
or
dealer
