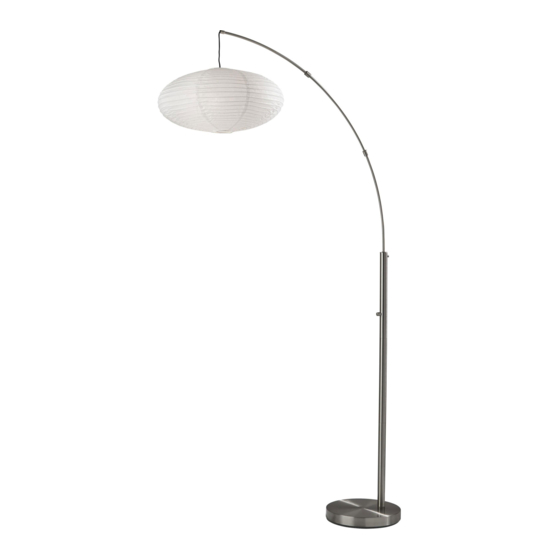
Adesso Corinne Montage-instructie
Blader online of download pdf Montage-instructie voor {categorie_naam} Adesso Corinne. Adesso Corinne 2 pagina's. Arc lamp

Please visit our website to view an Assembly
Video for this item
Assembly Instructions (English)
ASSEMBLY INSTRUCTION FOR
Corinne Arc Lamp
Model# 5024-01 /22
Please begin assembly by laying all parts down on the ground. The arms
are easiest to assemble if you assemble them first, before they are
attached to the lamp body.
1. Assemble arc arms (A) ,(B) and (D) by placing the top arc tube into the
bottom arc tube and securing each arm by tightening each metal collar
joint (C). Simply slide joint (C) over the threaded tube and screw down
to tighten. If you have trouble here, slightly lift up the upper arm to
relieve the tension on the joint while screwing the parts together.
Attention: Be sure to align the consistency of the curve on the arm.
2. Screw (F) comes pre-assembled to the tube (G). Before placing the
curved tube (D) onto the tube (G) , please unscrew this hex screw (F) to
loosen.
3. Fold the excess cord and insert into tube (G). Place the curved tube (D)
onto tube (G). Secure connection by tightening screw (F) with allen
wrench (E).
Note: The Arc lamp should face forward with the arm reaching over
the base (see diagram below).
4. Screw tube (G), (H) and (I) together until tight.
5. Insert tube (I) into base (J). Use bent wrench (M) to tighten washer (K)
and nut (L) from the bottom of the base in order to secure the pole to the
base.
6. Install the shade (O) onto shade frame (N). Place shade frame (N) into
the paper shade (O) and secure each shade edge to each end of the
shade frame.
7. Hang the shade (O) onto the cord.
GENERAL PRODUCT INFORMATION:
This product is suitable
for dry locations only.
---------------------------------------------------------------
IMPORTANT SAFETY INSTRUCTIONS:
This portable lamp has a polarized plug as a feature to reduce the risk of
electric shock (one blade is larger than the other). This plug will fit in a
polarized outlet only one way. If the plug does not fit fully in the outlet,
reverse the plug. If it still does not fit, contact a qualified electrician.Do not
use with an extension cord unless the plug can be fully inserted.
ALTER THE PLUG .
----------------------------------------------
BULB TYPE: type A Max 100W bulb (bulb not included).
PARTS DIAGRAM:
(1) screw (F)
(1)* Allen Wrench (E)
5024-01/22
th
nd
353 West 39
Street 2
Floor New York, NY 10018
Tel: (212) 736 4440 Fax: (212) 736 4806
www.adessohome.com
1.0
DO NOT
