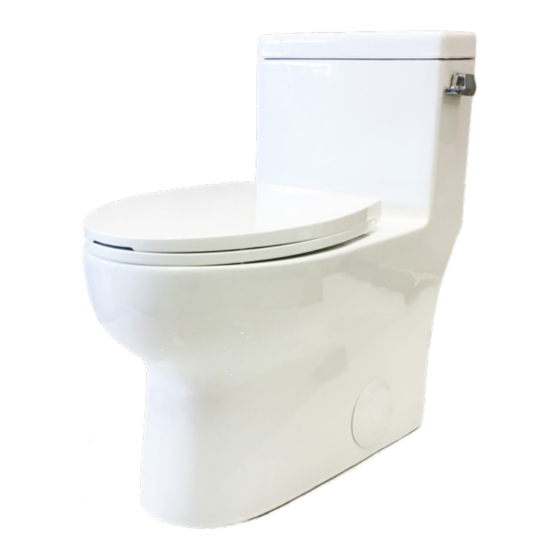
MAINLINE ML701E Installatie-instructies Verzorging en onderhoud
Blader online of download pdf Installatie-instructies Verzorging en onderhoud voor {categorie_naam} MAINLINE ML701E. MAINLINE ML701E 7 pagina's. Elongated 1 piece toilet

Elongated 1 Piece Toilet
Toilette Mono-Pièce Allongée
Installation Instructions, Care and Maintenance
For model: ML701E
Thank you for selecting Mainline.
To ensure this product is installed properly, please read these instructions carefully
before you begin.
(Certain installations may require professional help.)
Also be sure your installation conforms to local codes.
CAUTION:
PRODUCT IS FRAGILE.
TO AVOID BREAKAGE AND POSSIBLE INJURY, HANDLE WITH CARE!
WARNING:
Read all the instructions completely before proceeding.
Call a professional if you are uncertain about installing this product.
This product should be installed in accordance with all local and state plumbing and building
codes.
Vitreous China is heavy and fragile. Use extreme care with all parts.
Recommended Tools and Materials:
• Putty Knife
• Safety Glasses
1
Shut Off Water Supply
Locate water supply inlet and shut off water supply
valves.
These are usually found behind the toilet or near the
water meter.
If you are replacing an existing toilet,
remove the old toilet from the floor and clean
the finished floor surface thoroughly.
2
Closet Flange Preparation
Install closet bolts in flange channel. Turn 90
(152 mm) apart and parallel to the wall.
INSTALL NEW WAX SEAL
Turn toilet bowl upside down and put the wax seal gasket around
outlet.
Apply a thin amount of sealant around the base.
• Screwdriver
• Adjustable Wrench
and slide into place 6"
o
VITREOUS CHINA
• Sealant
• Level
3
Install Toilet Bowl
Align and lower the bowl over the closet flange and T-bolts.
a. Carefully position toilet parallel to wall.
With a shaking motion, press the bowl down to fully fit wax seal gasket.
Using bubble gauge, level the bowl left and right, rear and front.
Alternately tighten nuts until toilet is sealed on floor.
b. Cover washers with cap.
(If neccessary, cut bolt height to size before installing caps)
c. Swipe off excess sealant around the base.
• Tape Measure
• Towel/ Sponge
CAUTION:
Do not over tighten,
the base may break
