Garmin GPSMAP 17 Handleiding voor installatie-instructies - Pagina 15

Blader online of download pdf Handleiding voor installatie-instructies voor {categorie_naam} Garmin GPSMAP 17. Garmin GPSMAP 17 19 pagina's. Gps receiver/antenna
Ook voor Garmin GPSMAP 17: Handleiding voor installatie-instructies (16 pagina's), Handleiding voor installatie-instructies (12 pagina's), Installatiehandleiding (16 pagina's), Referentiehandleiding (1 pagina's), Technische referentie (30 pagina's), Handleiding voor installatie-instructies (17 pagina's), Conformiteitsverklaring (1 pagina's), Technische specificaties (40 pagina's), Snelstarthandleiding (16 pagina's)
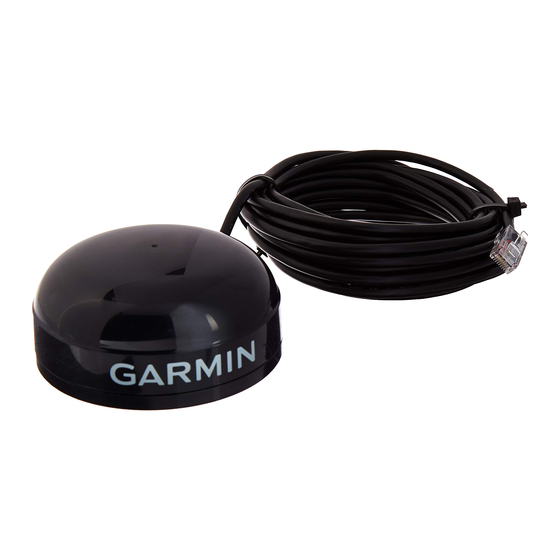
Garmin GPSMAP 17 Handleiding voor installatie-instructies
Final Wiring Connection
After all the wiring is complete, the cables are attached on the back of the GPSMAP 3006C/3010C MFD. If the MFD is not being networked,
be sure to firmly affix the weather cap over the open connector to limit corrosion of the contacts. The connection ports are labeled on the back
of the MFD.
To install the Power/NMEA, Marine Video, and Network Cables:
1. Align the notch and locking ring tab on the black Power/NMEA cable with the black POWER/NMEA port on the back of the unit. Carefully
press the cable in until it is firmly seated. Do not force the cable, as this may damage the pins!
2. After the cable is seated, turn the locking ring clockwise until it stops.
3. Repeat steps 1 and 2, attaching the gray Marine Video cable to the gray VIDEO port on the back of the unit.
4. If networking the MFD with the Garmin Marine Network, insert the RJ-45 connector into the NETWORK port on the back of the unit and
screw the locking ring in clockwise until it is firmly seated.
With power applied to the circuit, test the installation by pressing the POWER key on the front of the unit. See the GPSMAP 3006C/3010C
Owner's Manual for steps on initializing the receiver.
GPSMAP 3006C/3010C & GPS 17
GPSMAP 3006C
Connection ports
GPSMAP 3010C
Connection ports
I
I
NSTALLATION
NSTRUCTIONS
13