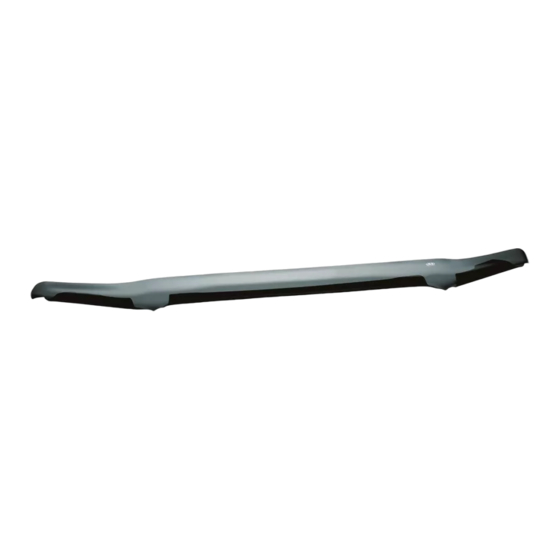
AVS Carflector Handleiding voor installatie-instructies - Pagina 2
Blader online of download pdf Handleiding voor installatie-instructies voor {categorie_naam} AVS Carflector. AVS Carflector 10 pagina's. Hood shield
Ook voor AVS Carflector: Handleiding voor installatie-instructies (7 pagina's), Handleiding voor installatie-instructies (7 pagina's), Installatie-instructies (2 pagina's), Handleiding voor installatie-instructies (7 pagina's), Handleiding voor installatie-instructies (7 pagina's), Handleiding voor installatie-instructies (6 pagina's), Handleiding voor installatie-instructies (10 pagina's), Handleiding voor installatie-instructies (6 pagina's), Handleiding voor installatie-instructies (6 pagina's), Handleiding voor installatie-instructies (10 pagina's), Handleiding voor installatie-instructies (6 pagina's), Handleiding voor installatie-instructies (9 pagina's), Handleiding voor installatie-instructies (6 pagina's), Handleiding voor installatie-instructies (6 pagina's), Handleiding voor installatie-instructies (10 pagina's), Handleiding voor installatie-instructies (10 pagina's), Handleiding voor installatie-instructies (6 pagina's), Handleiding voor installatie-instructies (10 pagina's), Handleiding voor installatie-instructies (6 pagina's), Handleiding voor installatie-instructies (10 pagina's), Handleiding voor installatie-instructies (6 pagina's), Handleiding voor installatie-instructies (6 pagina's), Handleiding voor installatie-instructies (6 pagina's)

