Aquatic AQ-MP-5BT-H Gebruikers- en installatiehandleiding - Pagina 7
Blader online of download pdf Gebruikers- en installatiehandleiding voor {categorie_naam} Aquatic AQ-MP-5BT-H. Aquatic AQ-MP-5BT-H 16 pagina's. Waterproof media player for bluetooth & mp3 devices
Ook voor Aquatic AQ-MP-5BT-H: Gebruikers- en installatiehandleiding (15 pagina's), Installatiehandleiding (8 pagina's)
Getting Started
1.6 Installing the Media Player if an existing factory stereo is already installed
If replacing an existing Harley-Davidson
use the existing Harley-Davidson
brackets and hardware to mount the Media Player.
1. Disconnect the radio harness and FM/AM radio
antenna from the factory stereo.
2. Remove the factory stereo and replace with the
AQ-MP-5BT-H Media Player using the existing factory
mounting hardware.
3. Plug the 23-pin radio harness plug and FM/AM radio
antenna into the AQ-MP-5BT-H media player. Only the
23-pin harness plug is utilized by the media player. Any
additional harness plugs will hang loose in your fairing.
4. Turn the Media Player on to confirm operation (motorcycle ignition switch must be
on) and once correct operation is achieved turn the motorcycle ignition switch off before
proceeding with the final mounting of the chassis.
5. Ensure that the unit is supported and secured on the sides using the existing 4
factory screws; failure to do so may allow the unit to move during while riding, causing
damage to the mounting area.
1.7 Connecting Rear Speakers
Rear speakers are usually installed on the following Harley-Davidson
Glide Ultra Classic, Road Glide Ultra, Ultra Limited. To continue using these speakers with your
Aquatic AV Media Player follow the instructions below.
1. Locate the rear channel high-level (speaker) output (4-pin molex connector with four
speaker wires). The pigtail itself is labelled with Color Code, Function and Description.
2. Locate the rear channel speaker lines in the 35-pin radio harness plug. This plug will not
be connected to your Aquatic AV head unit. Cut the 4 speaker wires for the rear channels at
pins 1 and 24(for the right side) and pins 2 and 25 (for the left side).
3. Strip the 4-pin pigtail wires 1/4" exposing bare wires. Strip the 4 wires that you cut from
the 35-pin harness 1/4" exposing bare wires.
4. Connect and crimp using crimp caps or solder the connection, cover the soldered wires
with non conductive heat shrink tube.
After following the installation instructions above test your rear speakers for sound. If you do not have output from your
rear speakers make sure to check your rear speaker setting in the settings menu and select rear speakers 'ON'.
www.aquaticav.com/harley
factory stereo
®
factory side mounting
®
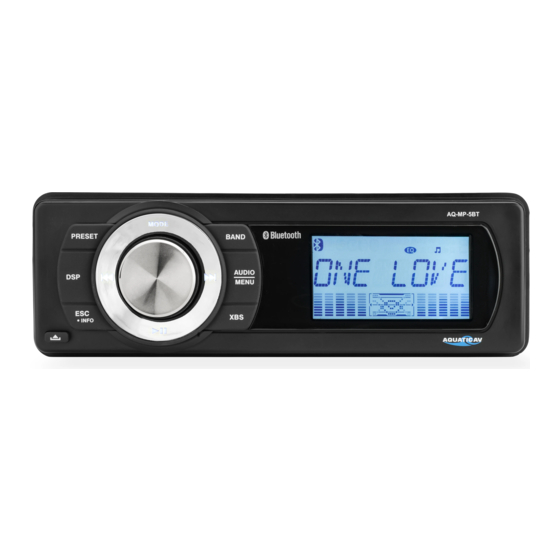
Media Player AQ-MP-5BT-H
Motorcycle models: Electra
®
6