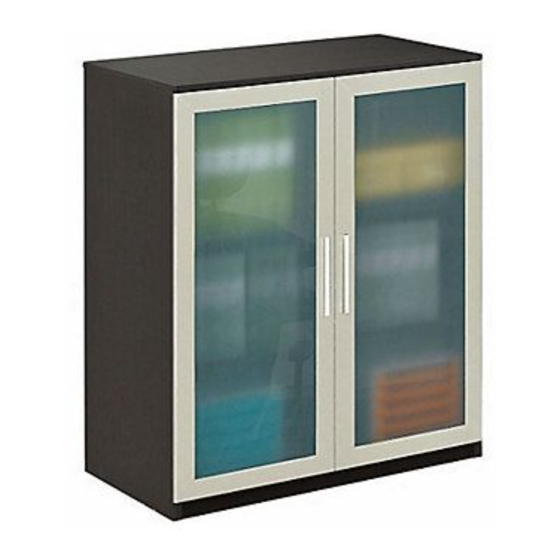
ATWORK AW-50168N Instrukcja montażu
Przeglądaj online lub pobierz pdf Instrukcja montażu dla Wyposażenie wnętrz ATWORK AW-50168N. ATWORK AW-50168N 2 stron. Wall storage cabinet with frosted glass doors

ATWORK Wall storage cabinet
with frosted glass doors
Identify all the components
A. Top - 1pc
B. Left side - 1pc
A
B
F. Top trim
G. Bottom trim
H. Back Panel
- 1pc
- 2pcs
- 1pc
G
Front
F
G
Back
Ha r d w a r e identific a tion
1. Cam lock
2. Cam bolt
3. Wood dowel
- 16pcs
- 16pcs
- 29pcs
7. Handle
8. Bolt
9. Screw
- 2pcs
- 4pcs
- 2pcs
Model#
AW-50168N
C. Right side - 1pc
D. Shelf - 1pc
D
C
I. Base Rail
J. Door
K. Adjustable Shelf
- 2pcs
- 2pcs
H
I
J
4. Screw
5. Hinge
- 24pcs
- 4pcs
10. Adhesive cover
11. Adjustable glide
- 16pcs
- 4pcs
Steps
E. Bottom - 1pc
E
E
1
Step
Attached bottom trim back (G) to Bottom
board (E)
and Base Rail (I) with wood dowel (3) and
screws (9) supplied. Insert the wood dowels (3)
- 1pc
into the holes on the Bottom trim (G).
K
C
top
6. Shelf support
- 4pcs
F
B
top
3
12. Stopper
- 6pcs
Step
Attach the
cam bolts (2) and the wood d owels (3)
on panels ( C ) in the a
cam l ocks (1) i nto panels ( D ) and ( E ) with the a rrows
on the cam l ocks facing the holes to the side of the
panels (D & E) . Attach the panels and secu re the cam
locks, tu rning clockwise to lock. Cover the cam locks
with the adhesive covers (10) .
I
I
F
top
2
Step
Attach the cam bolts (2) and wood dowels (3) panel (B)
as illustrated. Insert cam locks (1) into panel (D) & (E) with arrows
on cam locks facing the holes to the side of the panels.
Make sure panels (D) & (E) have cam locks facing down. Attach
the panels and secure the cam locks by turning clockwise.
Cover the cam locks with adhesive covers (10). Attach top trim (F)
2
3
to panel (B), make sure side with cam lock faces inward.
E
D
2
3
10
1
reas illust rated.Then inse rt the
E
D
3
2
B
3
2
H
C
B
4
Step
Slide Back Panel (H) top down. Please
make sure that the panel is slid within the
