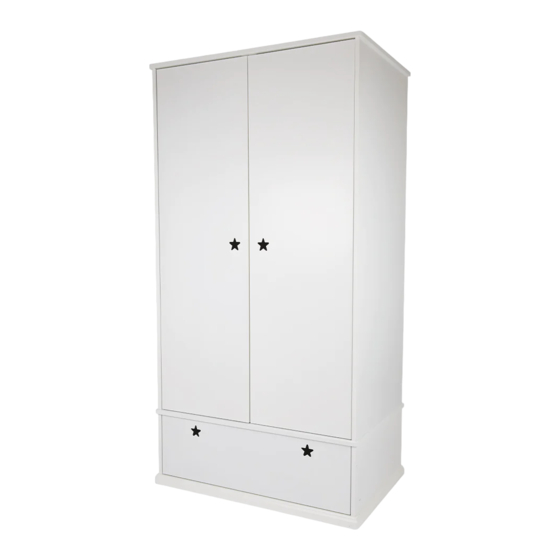
Great Little Trading l3939 Skrócona instrukcja obsługi - Strona 5
Przeglądaj online lub pobierz pdf Skrócona instrukcja obsługi dla Wyposażenie wnętrz Great Little Trading l3939. Great Little Trading l3939 15 stron. Star bright wardrobe
STEP 1:
You will need plenty of space to build this unit as the panels are large. We also
suggest you use a carpeted area to protect the panels during the build.
Firstly, decide on the desired height of the hanging rail. There are two positions to
choose from. The higher position offers 120cm of hanging space, the lower position
offers 105cm. The illustration shows the use of the higher position.
Once the position is decided, attach the rail mounting plates (#3) to panels A & B.
Now, insert 4x cam dowels (#1) into the holes along
A
BASE
2x
#1
TOP
#3
2x
#8
Hardware for Step 1:
BACK
2x #3 Rail Mount Plates
4x #8 12mmL Screws
8x #1 Cam Dowels
TOP
#3
2x
#8
BACK
2x
#1
B
2x
#1
2x
#1
STEP 2:
Prepare the top panel (D) by
inserting 6x cam dowels (#1).
Note: The block on the
underside of the panel
indicates the front
of the panel.
Hardware for Step 3:
6x #1 Cam Dowels
STEP 3:
2 people are needed for this step.
NOTE: You will be building this wardrobe face UP, so the back of the unit will be on
the floor. Align panels A and B as shown ensuring that the groove along the long edge
is to the floor.
Position and connect 2x panel C ensuring the large drill holes are facing down so you
cannot see them. DO NOT turn the unit over to fix these panels in place, this step
will be completed at a later stage.
A
BASE
BASE
5
#1
D
#1
#1
BACK
C
C
FRONT
#1
#1
#1
TOP
B
BACK