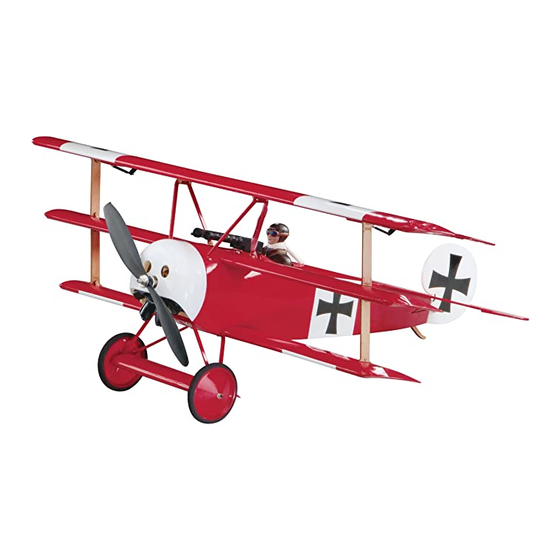
GREAT PLANES fokker DR-1 Instrukcja obsługi - Strona 6
Przeglądaj online lub pobierz pdf Instrukcja obsługi dla Zabawka GREAT PLANES fokker DR-1. GREAT PLANES fokker DR-1 20 stron.
PREPARATIONS
❏
1. If you have not done so already, carefully remove the
major parts of the kit from the box (wing, fuselage (fuse),
tail parts, etc.) and inspect them for damage. If any parts
are damaged or missing, contact Product Support at the
address or telephone number listed on page 5.
❏
2. Carefully separate the ailerons from the wing, the
rudder from the fi n and the elevator from the stabilizer (stab).
If necessary, use a covering iron set on medium/high to
carefully tighten the covering. Lay the control surface on
a fl at surface and apply pressure over sheeted areas to
thoroughly bond the covering to the wood. Hint: Poke three
or four pin holes in the covering over the open structure in
the tail surfaces. This will allow the hot air to escape while
tightening the covering.
WARNING: DO NOT OVER-SHRINK THE COVERING OR
IT WILL CAUSE THE CONTROL SURFACES TO TWIST.
❏
3. Check the pre-cut hinge slots of all control surfaces
using a hobby knife with a #11 blade. This will help when
installing the hinges.
ASSEMBLE THE WING
Install the Ailerons
❏
1. Test fi t the right aileron to the top wing with three 5mm
x 10mm [13/64" x 3/8"] hinges. If the hinges don't stay
centered, stick a pin through the middle of the hinges to hold
them in position while fi tting the aileron to the wing.
❏
2. Remove any pins you may have inserted into the hinges.
Install the aileron so there is a very small gap between the LE of
the aileron and the wing. The gap should be small – just enough
to see light through or to slip a piece of paper through.
❏
3. Apply three drops of thin CA to the top and bottom of
each hinge. Do not use CA accelerator. After the CA has
cured, test the hinges by pulling on the ailerons.
❏
4. Repeat steps 1 to 3 for the left aileron.
6