Adena A-BR01 Instrukcja szybkiej instalacji - Strona 2
Przeglądaj online lub pobierz pdf Instrukcja szybkiej instalacji dla System konferencyjny Adena A-BR01. Adena A-BR01 4 stron.
1
2
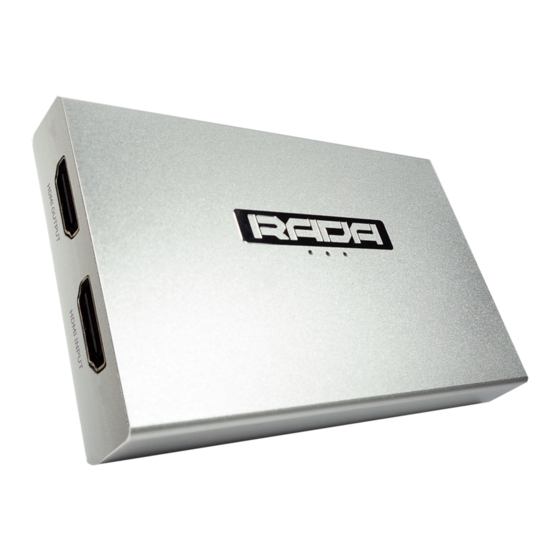
1. HDMI OUT - Connect to a display with an HDMI cable.
2. HDMI IN - Connect a video source with an HDMI cable.
3. LINE IN - Connect a microphone if you would like to add an extra
audio layer (3.5mm TRS only)
4. USB OUT - Connect to a computer with USB 3.0 cable.
5. RED LED - The device is connected to power.
GREEN LED - The device is in use.
Skype
Step 1. Connect the BRIDGE to your computer via USB.
Step 2. Open Skype and click on "Settings". There, proceed to "Audio
& Video".
Step 3. Select "Camera" to be "RADA Bridge S".
Step 4. Select "Microphone" to be "Digital Audio Interface (RADA
Bridge S)"*
Step 5. Connect the device you want to convert to the Bridge.
CONNECTION DIAGRAM
5
3
4