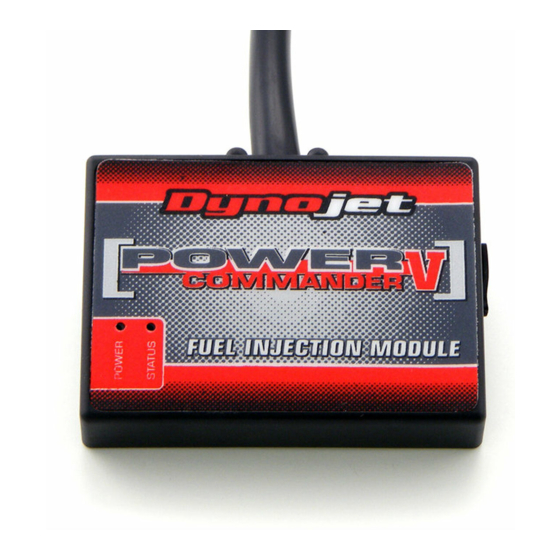
Dynojet Power commander GSXR750 Instrukcja instalacji - Strona 3
Przeglądaj online lub pobierz pdf Instrukcja instalacji dla Akcesoria motocyklowe Dynojet Power commander GSXR750. Dynojet Power commander GSXR750 4 stron. Power commander v input accessory guide

FIG.A
Unplug
FIG.B
FIG.C
Ground wire
20-037
www.powercommander.com
PCV harness
1
Remove the main seat and the passenger seat.
2
Unbolt the front of the fuel tank and hold the front of it up, using the prop rod
located in the tail section.
3
Locate and unplug the pair of stock sub-harness connectors for the fuel
injector rail (Fig. A).
Note: This is a pair of BLACK 16-pin connectors, located directly below the
fuel tank.
4
Plug the matching pair of connectors of the PCV harness in-line of the stock
connectors (Fig. B).
5
Route the PCV wiring harness along the inside of the left frame rail towards the
battery.
6
Secure the ground wire of the PCV harness to the negative (-) terminal of the
bike's battery (Fic. C).
2000-2001 Suzuki GSXR750 - PCV - 3
