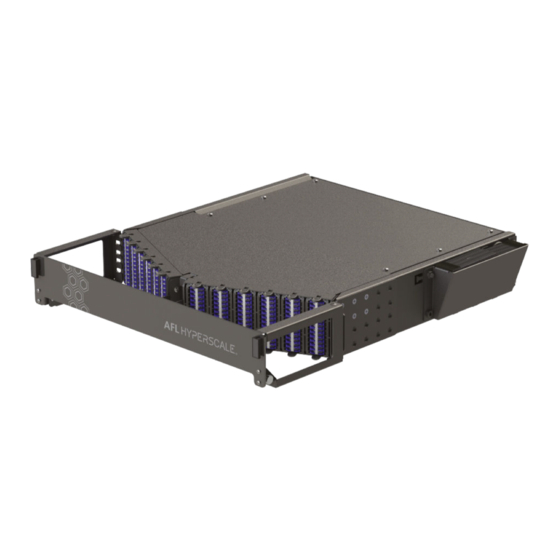
AFL Hyperscale U Series Instrukcja instalacji - Strona 6
Przeglądaj online lub pobierz pdf Instrukcja instalacji dla Sprzęt sieciowy AFL Hyperscale U Series. AFL Hyperscale U Series 12 stron. Front-access v-panel
Również dla AFL Hyperscale U Series: Instrukcja instalacji (8 strony), Instrukcja instalacji (16 strony), Instrukcja instalacji (8 strony), Instrukcja instalacji (8 strony), Instrukcja instalacji (8 strony), Instrukcja instalacji (8 strony), Instrukcja instalacji (20 strony), Instrukcja instalacji (17 strony), Instrukcja instalacji (20 strony), Instrukcja instalacji (16 strony)

