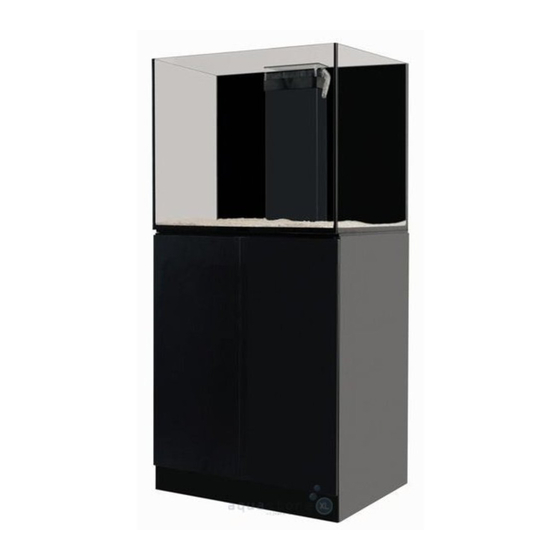
Aqua Medic Xenia 160 Instrukcja obsługi - Strona 7
Przeglądaj online lub pobierz pdf Instrukcja obsługi dla Akwaria Aqua Medic Xenia 160. Aqua Medic Xenia 160 17 stron.

Fig. 2: Overflow system Xenia (rear view)
1.
Emergency overflow to the filter
2.
Outflow to the filter
3.
Nut for
bushing
4.
Slide ring for
bushing
5.
Glass bar (no pict.)
6.
Rubber sealing ring
Available spare parts: Please refer to www.aqua-medic.de.
In the cabinet, there is a ball valve (Fig. 2, No. 8) that has to be slightly closed to control the water in the
overflow box. If the valve is closed to heavily or the return flow is blocked for some reason, the water
rises in the aquarium and flows to the filter tank through the emergency overflow. In such a case, the
ball valve has to be opened a bit further and all blockages have to be eliminated. If the overflow makes
loud noises, the ball valve has to be closed a bit more so the water is bottled up stronger so that no air is
dragged along. At least in the initial phase this has to be controlled regularly and, if necessary, to be
adjusted.
With the supplied PVC tubes with moulded keys on one side for holding the nuts of the bushings (tank
fittings), these nuts can be tightened or released. The bushings have to be installed according to Fig. 3.
Always re-tighten before use. The slide ring and nut have to be mounted manually beforehand and
tightened as much as possible. The rubber slide ring must always be attached to the side of the rotable
nut, the rubber gasket on the opposite side of the panel.
Fig. 3: Bushing or tank fitting (the glass pane is placed between slide ring 3 and rubber ring 2)
1.
Thread
2.
Rubber sealing
3. Slide ring
4. Nut
7. Outlet emergency overflow
8. Adjustion valve
9. Return line
10.
Tube for cable entry
11. Overflow to the filter
7
