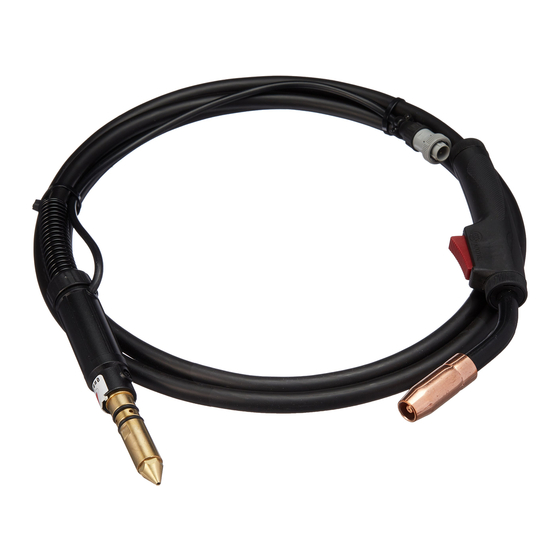
Miller M-10 Instrukcja obsługi - Strona 19
Przeglądaj online lub pobierz pdf Instrukcja obsługi dla Akcesoria spawalnicze Miller M-10. Miller M-10 48 stron. Air-cooled guns for gmaw and fcaw welding
Również dla Miller M-10: Instrukcja obsługi (8 strony)

4-9. Selecting A Location And Connecting Input Power For 115 VAC Model
4
3
6
5
8
7
10
9
Y Special installation may be required
where gasoline or volatile liquids
are present − see NEC Article 511 or
CEC Section 20.
.
The Auto-Line circuitry in this unit auto-
matically links the power source to the
primary voltage being applied, either
115 or 230 VAC.
For 115 volts ac input power, a 15 ampere
individual branch circuit protected by time-
delay fuses or circuit breaker is required.
For 230 volts ac input power, see Section
4-7.
Y Do Not cut off power cord connector and attempt to
hard wire the power cord. The power cord connector
and plugs are designed to work with pre-installed
outlet receptacles.
18 in
(460 mm)
2
1
Rating Label
Supply correct input power.
2
Power Cord Connector
3
Plug − NEMA Type 5−15P
4
Receptacle − NEMA Type 5−15R
(Customer Supplied)
5
Plug − NEMA Type 5−20P (Optional)
6
Receptacle − NEMA Type 5−20R
(Customer Supplied)
7
Plug − NEMA Type 6−50P
Y Do not move or operate unit
where it could tip.
1
8
Receptacle − NEMA Type 6−50R
(Customer Supplied)
9
Plug − NEMA Type 10−50P
(Optional)
10 Receptacle − NEMA Type 10−50R
(Customer Supplied)
Select plug for power supply receptacle
available at site. Install plug onto power
cord adapter. As threaded collar is tight-
ened, push plug onto adapter until collar is
completely tight.
Connect plug to receptacle.
18 in
(460 mm)
Ref. 803 812-A
OM-1328 Page 15
