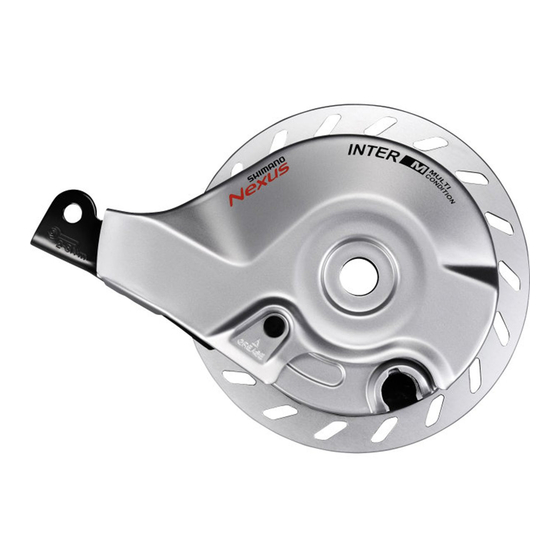
Shimano BR-C6000 Podręcznik sprzedawcy - Strona 13
Przeglądaj online lub pobierz pdf Podręcznik sprzedawcy dla Akcesoria rowerowe Shimano BR-C6000. Shimano BR-C6000 27 stron. Hub roller brake

- 1. Table of Contents
- 1. Important Notice
- 2. To Ensure Safety
- 3. Installation
- 3. List of Tools to be Used
- 3. Installation of the Lever
- 3. Installing the INTER M Brake to the Hub Body
- 3. Installation of the Hub to the Frame
- 3. Installation of the Brake Cable
- 4. Adjustment
- 4. Adjusting the Brake Cable
- 5. Maintenance
- 5. Applying Grease
INSTALLATION
Installation of the hub to the frame
(H)
3
(I)
4
Pull the wheel towards the rear to adjust the chain tension and align the wheel with
the frame center.
5
Temporarily tighten the hub nut strongly.
Slightly loosen the hub nut.
6
Fully tighten the brake unit fixing nut.
7
(L)
To be continued on next page
Attach the brake arm of the INTER M
brake to the chainstay with the brake
arm clip (J).
Then temporarily fix the clip screw (K)
and clip nut (I) by lightly tightening
them.
Check that the brake unit is firmly
secured to the hub body with the
brake unit fixing nut or brake unit
fixing washer (H).
(J)
(K)
Take up the slack in the chain and
secure the wheel to the frame with the
hub nut (L).
13
(H)
Brake unit fixing nut/Brake unit
fixing washer
(I)
Clip nut
(J)
Brake arm clip
(K)
Clip screw (M6×16 mm)
NOTE
If the hub nuts are cap nuts, use a frame
with dropouts that are at least 7 mm thick.
Tightening torque
20 - 25 N·m
(L)
Hub nut
Tightening torque
30 - 45 N·m
NOTE
Check that the wheel is fixed securely to
the frame with the hub nuts.
