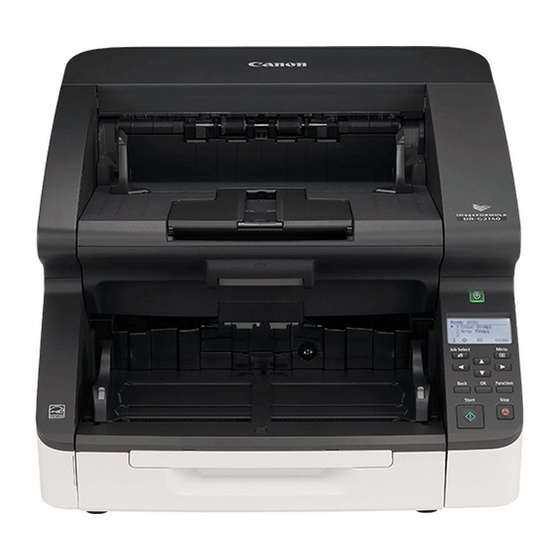
Canon 3149C002AA Manual de serviço - Página 18
Procurar online ou descarregar pdf Manual de serviço para Impressora Canon 3149C002AA. Canon 3149C002AA 25 páginas.

G. End-User Periodic Maintenance
The parts in the table below must be cleaned or replaced periodically by the
end-user to ensure a specific level of machine performance. Clean or replace
the parts at the interval specified below.
Table 9 – Periodic Maintenance (End-User)
Item
Main Body
Pickup inlet/feed
path
Pickup roller Feed
roller Retard roller
Separation pad
(cover)
Power plug
Reading glass
Ink cartridge
Parts to which ink
is attached
Note 1: If the number of sheets fed with the roller exceeds 600,000 sheets, a
replacement message is displayed on the operation panel LCD and
computer screen. For the separation pad, it is displayed at exceeding
6,000,000 sheets.
Note 2: If lines or streaks appear in the printout, it can be corrected by
performing the Head Cleaning. However, it does not improve printing,
remove the ink cartridge and clean the print head.
Refer to the User Manual for details.
imageFORMULA DR-G2140 / DR-G2110 Service Guide
imageFORMULA DR-G2140/DR-G2110 Service Guide
Maintenance Interval (Sheets)
As Required
X
X
Approximately
X
every 600,000
Approximately
X
every 6,000,000
X
X
X
X
Remarks
Other
Wipe the main body with a cloth dipped
into water and wrung tightly, then wipe
dry.
Using a blower, etc., remove remained
dust and paper powder.
Wipe the rollers with a cloth dipped into
water and wrung tightly, then wipe dry.
The expected life is 600,000 sheets.
sheets
Refer to Note 1.
Wipe the rollers with a cloth dipped into
water and wrung tightly, then wipe dry.
The expected life is 6,000,000 sheets.
sheets
Refer to Note 1.
Remove dust on the connecting portion
with the receptacle.
Wipe the reading glass with a cloth
dipped into water and wrung tightly,
then wipe dry.
Perform the Head Cleaning in the user
mode. In addition, clean the discharge
outlet of the ink head with soft cloth or
paper or a cotton swab. Refer to Note
2.
Wipe these parts with a cloth dipped
into water and wrung tightly, then wipe
dry.
October 2018
Page 14
