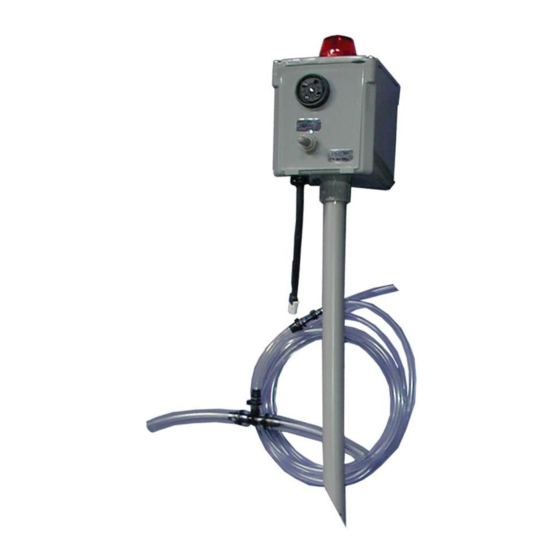
aero-stream 101893 Manual rápido - Página 3
Procurar online ou descarregar pdf Manual rápido para Sistema de segurança aero-stream 101893. aero-stream 101893 3 páginas.

Options: High Water Alarm Float
Directions
1. Remove the clean out cover on the septic tank and determine the
depth of the water in the tank and record.
2. Back out the screws in the receiver sections (figure 10) and insert
the mast sections into the receivers with the section containing the
float clamp at the upper most position. Tighten the screws until the
head of the screws bottom out on the receiver.
3. Using the measurement of the water depth in step 1, mark a line
on the side of the PVC pipe measuring from the bottom of the base
towards the top end of the pipe.
4. Slide the float clamp up or down so the bottom of the clamp is 2"
below the water mark and tighten clamp (figure 11).
5. Drill a 5/8" hole through the tank cover or the side of the riser to
allow the float switch cord to be pushed through.
6. Feed the free end of the float switch through the hole drilled in
step 5.
7. Lower the float assembly into the tank ensuring the pipe is in a
vertical position.
8. Pull the excess float switch cord through the hole and mark the
cord at the point it exits the tank.
9. Install the strain relief around the cord (figure 12) at the mark from
step 8.
10. Grasping and compressing the strain relief with a pliers, push it
into the 5/8" hole (figure 13). If the strain relief is pushed into
concrete, apply silicone caulk around the strain relief to seal out
water and hold in place.
11. Plug the free end of the float switch wire into the wire connector
on the Aero-ALERT™ (figure 4).
12. Burry the float switch cord 3" - 4" below the ground surface.
Compress with
pliers
Figure 12
Push into
hole
Figure 13
PN 101953
Figure 8
Figure 9
Figure 10
Water
Line
Clamp
Figure 11
