Baumer KTD 3-6 A 4 Y 2 Manual de instruções de instalação e funcionamento - Página 14
Procurar online ou descarregar pdf Manual de instruções de instalação e funcionamento para Gerador portátil Baumer KTD 3-6 A 4 Y 2. Baumer KTD 3-6 A 4 Y 2 21 páginas. Tachogenerator

5.
Mechanical Mounting
5.1. Preparations
• Attention! Observe the safety instructions in chapter 4.
• Make sure the drive will not be operational for the time of tachogenerator
installation.
• Prior to any installation work, switch off overall voltage supply and ensure
machinery is idle..
• We recommend sufficient contact surface according to the dimensions specified in
chapter 8. For tachogenerator type identification see product label.
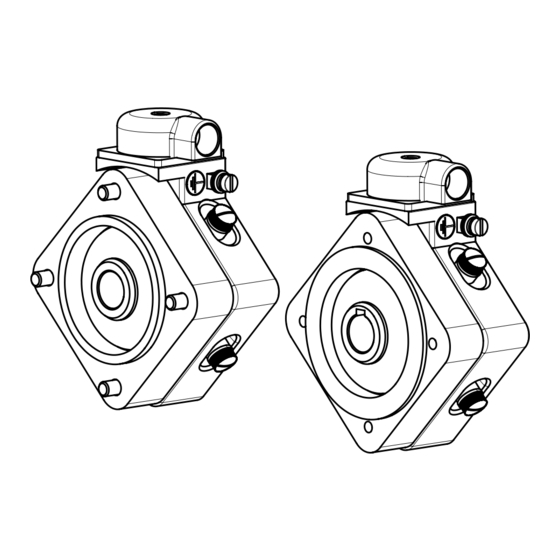
• Type SKTD: Alternatively, a mounting bracket may be used for installation (see
illustration). The bracket must be firmly attached at the drive contact surface. Maxi-
mum radial runout error of the mounting bracket is 0.02 mm. Mounting brackets are
available as an accessory.
• Prior to installation, make sure any motor parts protruding into the tachogenerator
are clean and free from lubricants or oil. Lubricants or oil heating up may affect the
collector and cause voltage drops, worse residual ripple, lamella short-circuiting or
groove formation with severe carbon abrasion.
• During assembly, make sure rotor and housing provide the same number which is
seen on the housing label and hand-written on the rotor itself.
5.2. Installation
• Make sure the necessary preparations for installation according to
chapter 5.1. are present.
1. Remove all four plastic caps provided on the side of the housing.
2. Take out the carbon brushes or adjust their position.
Note: To quickly achieve optimal performance of the pre-run brushes, we recom-
mend not taking them out but just putting them into position. It will take them only
some hours of operation to run in.
3. Slide rotor onto drive shaft.
Important: Rotor must smoothly slide along drive shaft, do not apply force.
Never use a hammer. Where fit is tight, use a tool supported by the steel hollow
shaft in order to prevent the rotor from getting jammed.
4. Avoid any skin contact with the collector's running surface.
5. When sliding on the rotor, observe dimension b which is specified in chapter 8 and
mandatory to be observed.
Firmly attach rotor to the drive shaft and secure by axial screws (see dimensional
drawing). For devices using a clamping element, the tightening torque is 6 Nm (A/F
22) with manually applied counter torque.
6. Put on the housing, the rotor connection may be in any position.
14
Baumer_KTD3A4-SKTD3A4_OI_DE-EN_1606indd
