Air King 5000 Manual de instalação e operação - Página 6
Procurar online ou descarregar pdf Manual de instalação e operação para Humedecer Air King 5000. Air King 5000 12 páginas. Flow-through furnace humidifier
Também para Air King 5000: Manual de garantia, manutenção e resolução de problemas (14 páginas), Manual de resolução de problemas (13 páginas)
Model 5000 Flow Through Humidifier
6
Tilt the cover away from the body slightly (approx. 1/2") and
then lift up the cover to free the hooks at the top of the unit.
2. Remove all loose components packaged inside and any
packaging. With a firm pull, disconnect the water tube from the
water nozzle and remove the evaporator pad assembly by sliding
it toward the top of the humidifier, then lifting it out. (fig 8.)
Figure 8
3. Remove the two #6 screws which hold the humidifier side in
place (a short handled screw driver will give you easier access
to the screws) (fig 9.)
Figure 9
4. Lift the humidifier side out of the right hand position, turn the
part and position it on the other side of the humidifier. (fig. 10)
Figure 10
5. Use the two screws removed in step 3 to secure the humidifier
side in the left hand side.
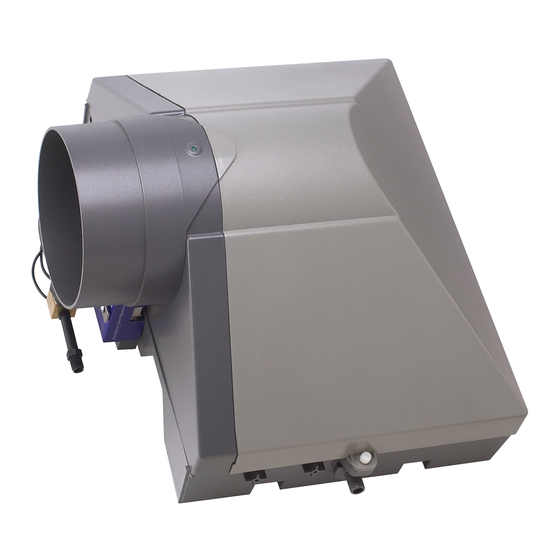
STEP #2: MOUNTING THE HUMIDIFIER ON THE DUCT
If you have not already done so, remove the humidifier cover,
which is secured in place with a 10-24 plastic thumb screw at the
bottom of the cover. Tilt the cover away from the body slightly
(approx. 1/2") and then lift up the cover to free the hooks at the
top of the unit. Remove all loose components packaged inside
and any packaging. With a firm pull, disconnect the water tube
from the water nozzle and remove the evaporator pad assembly
by sliding it toward the top of the humidifier, then lifting it out.
(fig 8.) The humidifier comes with a mounting template. Ensure
the cabinet is installed level for proper operation.
CAUTION: When cutting or drilling into ducting take care not to
damage any air-conditioning coils or other furnace apparatus
CAUTION: Wear safety glasses and work gloves when installing
this unit. Sharp metal edges can cause severe injury.
1. Use adhesive tape to affix the template onto the duct in the
selected location. Use the level line to the template and a level
to ensure the cabinet will be level.
2. Drill the four marked cabinet-mounting holes on the template
using a 1/8" drill bit (not supplied)
3. Using a 3/8" drill bit (not supplied) drill a hole inside the
rectangle marked "HUMIDIFIER CUT OUT".
4. Using the 3/8" hole drilled in step 3 as a starting point, cut out
the Humidifier Cut Out area marked on the template using tin
snips (not supplied). Cut on the outside of the line to ensure a
proper fit.
5. Mount the humidifier cabinet on the duct with 4 of the screws
from the installation package. Level the humidifier before
tightening the screws. (fig. 11)
6. Install the evaporator pad assembly by hooking the slanted tabs
on the evaporator pad frame onto the tabs on the back of the
humidifier cabinet. MAKE SURE THE OPEN END OF THE
NOZZLE IS FACING YOU.
7. Firmly insert the water tube into the nozzle.
STEP #3: MOUNTING THE BYPASS COLLAR AND DAMPER
The humidifier comes with a collar and damper mounting
template. If possible ensure that the bypass collar will be level to
the humidifier duct connection. Try to keep the bypass collar
within 30" of the humidifier.
CAUTION: When cutting or drilling into ducting take care not to
damage any air-conditioning coils or other furnace apparatus
CAUTION: Wear safety glasses and work gloves when installing
this unit. Sharp metal edges can cause severe injury.
1. Use adhesive tape to affix the bypass template onto the duct
in the selected area.
Figure 11