Atlas fan company DIANE Manual do Proprietário - Página 2
Procurar online ou descarregar pdf Manual do Proprietário para Ventilador Atlas fan company DIANE. Atlas fan company DIANE 4 páginas.
Também para Atlas fan company DIANE: Manual do utilizador (2 páginas), Manual de instruções (10 páginas)
CHOOSING AND PREPARING A SUITABLE INSTALLATION SITE:
• Ensure the site you select will not allow any object to come into contact with the rotating blades
or the entire rotating fan unit.
• The fan blades must be at least 2.1m above the floor, preferably 2.3m.
• There must be no obstructions to airflow, such as wall or posts within 0.6m of the fan blades.
• The fan must be able to be installed directly onto a joist, or support brace that will hold the full
weight of the ceiling fan.
MOUNTING /INSTALLATION OF THE FAN:
WARNING: To avoid possible electrical shock, before installing your fan, disconnect the power by
turning off the circuit breakers to the outlet box and associated wall switch location. If you can not
lock the circuit breakers in the off position, securely fasten a prominent warning device, such as a
tag, to the service panel.
1. Remove the decorative canopy bottom cover from
the canopy by turning the cover counter clockwise.
(Refer figure 5)
2. Remove the hanger bracket from the canopy by
loosening the two screws on the bottom of the
hanging bracket. Turn the canopy counter clockwise
and remove. (Refer figure 5)
3. Secure the hanging bracket to the ceiling, ensuring it
is fixed directly onto a joist, or support brace that
will hold the full weight of the ceiling fan. (Refer
figure 6)
4. Remove hanger ball from the downrod assembly by
loosening the set screws, removing the cross pin and
slide the ball off the rod. (Refer figure 7)
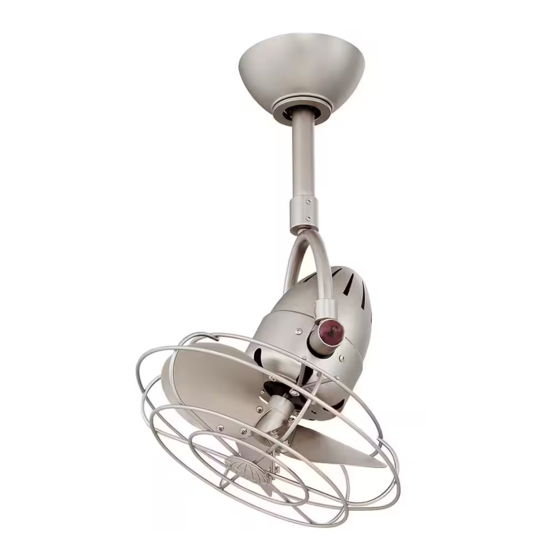
5. For Metal Blades With Decorative Cage:
Remove protective sleeve from the motor shaft, and
attach the back side of the decorative cage, then
attach the blade. Handle the blades carefully
otherwise you can bend the blade irons which will
cause the fan to vibrate when in operation.
IMPORTANT: The set screw in the blade hub MUST
be counter sunk into the bore hole on the flattened
side of the motor shaft, or the blades may
disengage from the motor shaft during operation.
For Timber Blades
Do NOT attach the blades yet, the blades should be
attached as the last step (Refer step 9.
6. Loosen the two set screws from the top coupling of
the motor assembly (Refer figure 8)
7. Carefully feed the fan wires through the downrod
and pull them taut. Thread the downrod into the
coupling then tighten the set screws using the Allen
key supplied. (Refer figure 8)