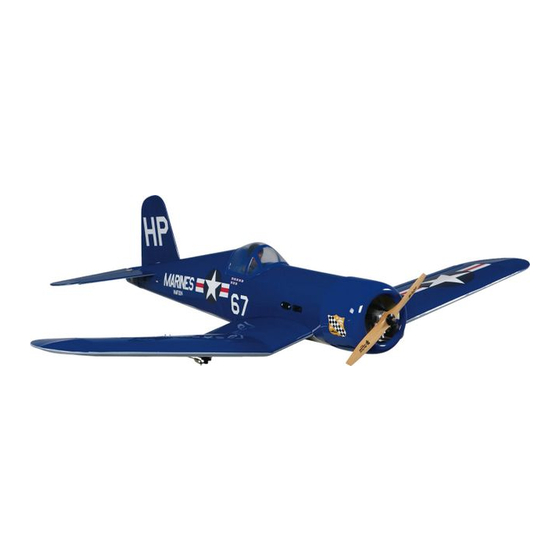
GREAT PLANES Combat Corsair Manual de instruções - Página 13
Procurar online ou descarregar pdf Manual de instruções para Brinquedo GREAT PLANES Combat Corsair. GREAT PLANES Combat Corsair 20 páginas. 1/12 scale ama event 750, class 2610 arf
13. Install the fuel tank into the fuselage with the neck of
the tank through the firewall. Hold the tank in place with a
rubber band.
14. Install silicone fuel tubing onto the aluminum tubes
from the fuel tank. The line with the fuel clunk will feed to the
fuel inlet at the needle valve and the other will attach to the
pressure tap on the muffler. If you choose to use some kind
of an external fuel valve follow the instructions with your
particular brand of fuel valve. You can also install a third line
to the tank and use it for filling the tank. The method you use
is your choice but make your decision before moving onto
the installation of the fuel tank.
Mount the Cowl
1. Center the cowl ring over the front of the fuselage.
Place the ring so that all four of the mounting tabs will be
accessible once the cowl is installed on the ring. Take into
consideration the placement of the muffler when deciding
exactly where the ring is to be placed.
2. Drill a 1/16" [1.6mm] hole through each of the
mounting tabs into the fuselage. Mount the cowl to the
firewall with four 2 x 7mm screws and 2mm flat washers.
3. Cut the cowl ring at the muffler cut out.
4. Place the cowl onto the cowl ring. Position the cowl so
the engine crankshaft is centered with the center of the cowl.
Once you are satisfied with the placement of the cowl, tack
glue the cowl to the cowl ring with a couple of drops of CA
and CA accelerator. When the glue hardens remove the
cowl and ring from the fuselage.
5. Mix 1/2 ounce [15cc] of epoxy and micro balloons.
Apply the mixture to the front of the cowl ring and the
fuselage. Allow the mixture to harden.
6. Make the necessary cut outs in the cowl for the muffler,
needle valve etc.
7. Fuel proof the cowl ring with a fuel proof paint or epoxy.
8. If you have not already done so, connect the fuel, vent
and fill lines to the fuel tank and engine.
13