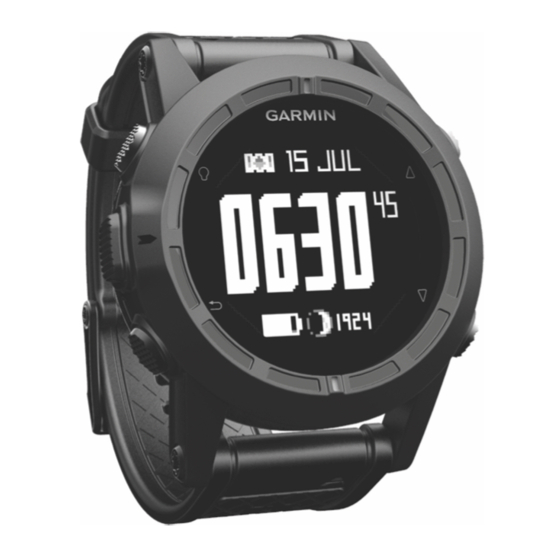
Garmin tactix Manual do Proprietário - Página 15
Procurar online ou descarregar pdf Manual do Proprietário para Ver Garmin tactix. Garmin tactix 24 páginas.
Também para Garmin tactix: Manual de início rápido (4 páginas)

Fitness
Customizing Your Running or Cycling
Profile
There are many ways to customize your device for ease of use
while running or cycling. You can access the settings menu
using the action key.
• Select Setup > Tracks > Auto Pause to turn on Auto
Pause ®
(page
10).
• Select Setup > Tracks > Output to set your output format if
you plan to manage your fitness activities using Garmin
Connect
(page
10).
• Select Setup > Data Pages to customize the data fields and
to change the order of the data pages
• Select Setup > Units to change units of measurement.
For example, you can record your biking distance in
kilometers instead of miles.
• Customize the hold function of your arrow keys for your
activity
(page
9).
• Select Setup > Fitness > Auto Lap to set your lap distance.
The default distance is 1 mi (1.60 km).
• Enter your fitness user profile information
heart rate zones
(page
measurements.
Going for a Run
Before you go for a run, you must change the profile to running
(page
2).
1
Select the action key.
2
Select Start GPS.
3
Wait while the device locates satellites.
4
Hold
to start the timer.
5
Start running.
You can hold
to pause and resume your run. You can hold
to mark a lap.
6
Select the action key.
7
Select Stop GPS to finish your run.
The device automatically saves your run.
History
History includes date, time, distance, calories, average speed or
pace, ascent, descent, and optional ANT+™ sensor information.
NOTE: History is not recorded while the timer is stopped or
paused.
When the device memory is full, a message appears. The
device does not automatically delete or overwrite your history.
You can upload your history to Garmin Connect
BaseCamp
(page
4) periodically to keep track of all your activity
data.
Viewing an Activity
You can view the history or a map of your fitness activity.
1
Select the action key.
2
Select FIT History.
A list of your activities appears by date.
3
Select an activity.
4
Select Details or View Map.
Saving an Activity as a Track
You can save an activity as a track using GPS. This allows you
to perform GPS functions with the activity, such as navigation
and routes.
Fitness
(page
9).
(page
10) and
12) to obtain accurate calorie
(page
1
Select the action key.
2
Select FIT History.
3
Select an activity.
4
Select Save as Track.
Deleting an Activity
1
Select the action key.
2
Select FIT History.
3
Select an activity.
4
Select Delete > Yes.
Using Garmin Connect
1
Connect the device to your computer using the USB cable.
2
Go to www.garminconnect.com/start.
3
Follow the on-screen instructions.
The device is compatible with these optional, wireless ANT+
accessories.
• Heart rate monitor
• GSC™ 10 speed and cadence sensor
• tempe wireless temperature sensor
For information about compatibility and purchasing additional
sensors, go to http://buy.garmin.com.
Pairing Your ANT+ Sensors
Before you can pair, you must put on the heart rate monitor or
install the sensor.
Pairing is the connecting of ANT+ wireless sensors, for
example, connecting a heart rate monitor with your Garmin
device.
1
Bring the device with range (3 m) of the sensor.
NOTE: Stay 10 m away from other ANT+ sensors while
pairing.
2
Select the action key.
3
Select Setup > ANT Sensor.
4
Select your sensor.
5
Select New Search.
When the sensor is paired with your device, the sensor
status changes from Searching to Connected. Sensor data
appears in the data page loop or a custom data field.
tempe
The tempe is an ANT+ wireless temperature sensor. You can
attach the sensor to a secure strap or loop where it is exposed
to ambient air, and therefore, provides a consistent source of
11) or
accurate temperature data. You must pair the tempe with your
device to display temperature data from the tempe.
Putting On the Heart Rate Monitor
NOTE: If you do not have a heart rate monitor, you can skip this
task.
You should wear the heart rate monitor directly on your skin,
just below your breastplate. It should be snug enough to stay in
place during your activity.
1
Snap the heart rate monitor module
ANT+ Sensors
(page
11)
(page
(page
11)
onto the strap.
13)
11
