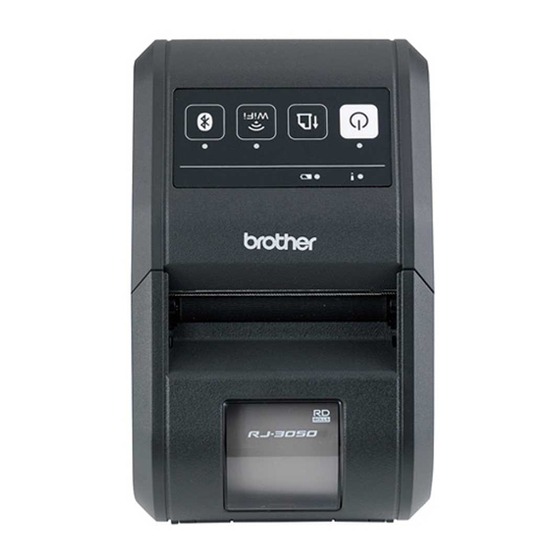
Brother Rugged Jet RJ-3050 Manual do utilizador - Página 2
Procurar online ou descarregar pdf Manual do utilizador para Impressora Brother Rugged Jet RJ-3050. Brother Rugged Jet RJ-3050 4 páginas.

Connecting to a DC Power Outlet (Optional)
Connect the printer to your vehicle's 12 V DC power outlet (cigarette lighter,
etc.) to charge the rechargeable battery.
1.
Connect the car adapter to the vehicle's 12 V DC power outlet.
2.
Connect the car adapter to the printer.
1
Car adapter
NOTE
A battery charger (option) and cradle (option) can also be used for
charging.
Printing Receipts
1.
Install the printer driver and software downloaded from the web page.
(See Installing the Drivers section.)
2.
Make sure that the printer is powered using a charged battery.
3.
Insert the RD Roll.
4.
Press and hold the
(Power) button to turn the printer on. The POWER
indicator should be green.
5.
Connect the printer to a computer or handheld device using either a
USB cable, Bluetooth, or Wi-Fi.
6.
Print receipts.
For details, see the Online User's Guide.
Inserting the RD Roll
1.
Push and hold the cover open lever to open the RD Roll compartment
cover.
1
Cover open lever
2.
Open the roll guides by lifting up the roll guide adjustment lever (1) and
pulling the roll guide outwards.
Insert an RD Roll into the RD Roll compartment with the roll feeding
from the bottom as shown.
2
1
1
Roll guide adjustment lever
2
Roll guide
1
1
3.
While lifting up the roll guide adjustment lever (1), push in both roll
guides (2) to the roll width. Make sure that RD Roll is positioned straight
in the RD Roll compartment.
4.
Close the RD Roll compartment by pressing down on the center of the
cover until it latches.
Removing the RD Roll
1.
Push the cover open lever, and then open the RD Roll compartment
cover.
2.
While pushing the roll release lever, tilt the roll guide slightly, and then
remove the roll. The roll can be removed without changing the position
of the roll guide.
Do not forcefully tilt the roll guide too far. Otherwise, the roll guide could
break.
1
1
2
1
Roll release lever
