Olympus DP12 Manual de instruções - Página 12
Procurar online ou descarregar pdf Manual de instruções para Câmara digital Olympus DP12. Olympus DP12 48 páginas. Microscope digital camera system

2
1
3
4
Fig. 3
2
1
3
4
Fig. 4
2
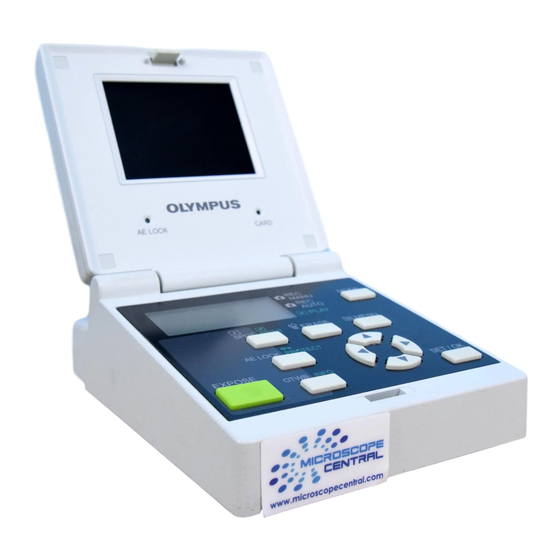
Attaching the Control Box
1. Insert the connector ³ on the end of the connection cable with the ferrite
core | into the rear of the control box and tighten the clamping screw on
the connector.
2. Insert the connector @ on the other end of the connection cable into the
connector ² on the camera unit and tighten the clamping screw on the
connector.
3
Attaching the AC Adapter
# Always be sure to use the provided AC adapter. Using any other AC
adapter will result in a malfunction.
The cords and cables are vulnerable to bending or twisting. Do not
apply excessive force to them.
1. Insert the output connector 1 of the AC adapter into the DC input con-
nector 2 of the control box.
Always use the power cord provided by Olympus. If no power cord
is provided, please select the proper power cord by referring to the
section "PROPER SELECTION OF THE POWER SUPPLY CORD" at
the end of this instruction manual. If the proper power cord is not
used, product safety performance cannot be warranted.
2. Insert the connector 3 of the power cord into the input connector 4 of
the AC adapter.
3. Insert the plug of the power cord into a power outlet.
Always ensure that the grounding terminal of the microscope and
that of the wall outlet are properly connected. If the equipment is not
grounded, Olympus can no longer warrant the electrical safety per-
formance of the equipment.
}The AC adapter gets hot when it has been connected to a power outlet
for a long period. This is not a malfunction.
DP12
(Fig. 3)
(Fig. 4)
9
