Ayra IntenZ CB-150 Manual do utilizador - Página 8
Procurar online ou descarregar pdf Manual do utilizador para Equipamento de iluminação Ayra IntenZ CB-150. Ayra IntenZ CB-150 12 páginas. Rgb cob led matrix bar
To activate the unit, connect the included power supply to the unit and a suitable 230V, 50 Hz power outlet.
The fixture will start up and show the last chosen setting on the display. Usually, with a new product, this is
the DMX mode with the value set on 001.
The display shows several settings, each with the possibility to set several values.
Use the display and the menu buttons to set preferences, change settings and scroll through the menu.
"Enter" is used to save a certain setting or preset, press "Menu" for at least 2 seconds to discard the change
and return to the main menu.
The table below shows an explanation for every feature and value.
display
Mode
ADDR
DMX address setting
CHND
Channel mode
SLND
Master/slave mode
SOUN
Sound controlled mode
SHND
Auto mode
SENE
Sound sensitivity
BALA
White Balance
BLND
Black out mode
Led
LED mode
DISP
Display inversion
TEST
Test mode
TEMP
Temperature
Hour
Using time of light
ADDR: DMX address setting, used to determine the DMX starting channel. From this channel on, the fixture
will respond to values, corresponding with the amount of channels that the fixture is occupying. (For
example, when you turn the fixture in 3CH mode and set the starting address to value 003, the fixture will
respond to channels 3, 4 and 5.)
CHND: The channel mode of the fixture makes it possible to use the correct channel mode setting for every
application. For simple and basic setups, users may prefer to use the 1- or 3-channel mode. For advanced
setup, users may prefer to control each pixel in detail, by using the 15- or 18-channel mode.
SLND: When using the master/slave function, you need to connect 2 or more fixtures with XLR-XLR cable.
The first fixture in line needs to be set as master, the others as Slave 1 or 2 (synchronized or mirrored
performance). This way, the slaves will mimic the behavior of the master fixture for wonderful synchronized
lighting shows.
SHND: Auto mode. Select one of the internal programs and set the speed correctly for the best effects.
SOUN: Activate or disable the built-in sound controlled mode. This way, the fixture will respond to the beat of
the music.
SENE: The sensitivity of the built-in microphone is adjustable, to optimize the built-in sound controlled mode.
For example, when your music source (speakers) are placed far away, you might want to increase the
sensitivity to make sure that the fixture responds to the sound accurately.
BALA: When using several fixtures, it might be possible that you want to optimize the colour temperature
when using full output (white, created by RGB @ 100% output). Some people prefer white with a slight
blueish tone, others prefer warm white to mimic traditional light bulbs. Every separate colour can be changed
(dimmed) to achieve perfect white balance when projecting full white in normal mode.
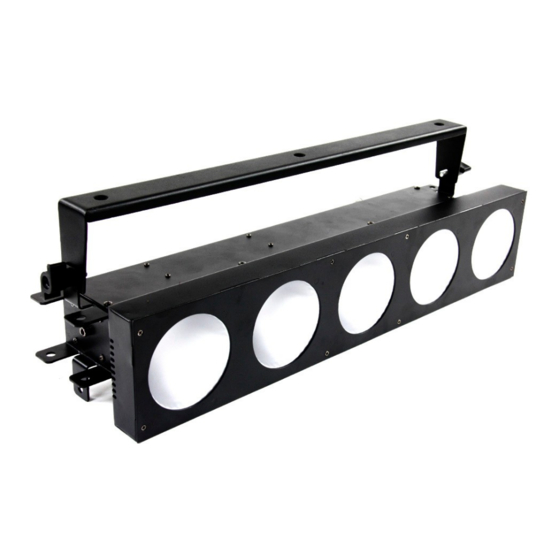
Setting up the unit
Function
A001-A512
1CH/3CH/5CH/7CH/15CH/18CH
Sound controlled mode on/off
Auto speed 1-9 – Show 0-16
Sound sensitivity 0-100
Red
Green 000~255
Blue
YES-NO
ON-OFF
Display Inversion, Idsp-dspI
Self test
0 ~ 9999
Fixture hours,0 ~ 9999
Master (default)
Slave 1 - Slave 2
000~255
000~255