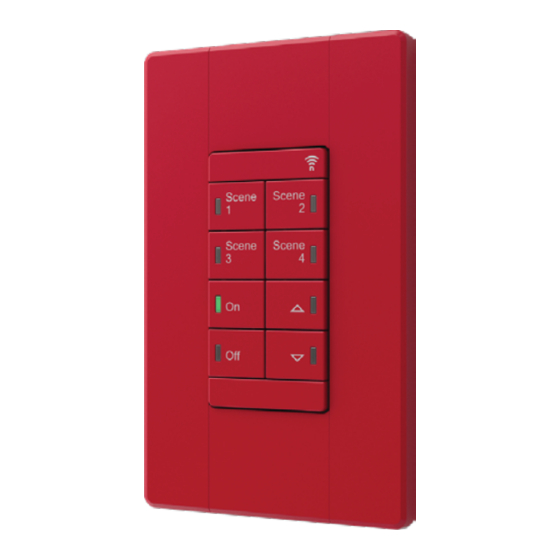
Acuity Brands nLight AIR rPODBA 4S Manual - Página 4
Procurar online ou descarregar pdf Manual para Interruptor Acuity Brands nLight AIR rPODBA 4S. Acuity Brands nLight AIR rPODBA 4S 4 páginas. Battery-powered wall switch

INSTALLATION OVERVIEW
Installation of the rPODBA is simple, wire free, and does not require special tools. Follow the instructions below to install the rPODBA wall switch.
OUT-OF-THE-BOX DECORA WALL PLATE
•
Remove the wall plate from the device by pulling the sides out to expand the wall plate and release it from the mounting flanges.
•
Connect the unit to the gang box
•
The unit will connect to the gang box by screws, one at the top and one at the bottom
•
To ensure correct wall plate installation, drive the screws until the mounting flanges contact the wall surface. If the screws are overdriven, the mounting flanges
will disengage, preventing wall plate installation. If this happens, reattach the mounting flange(s) and install to correct position. (The flanges may be reattached by
inserting the two tabs in the side of the unit and pushing the part inward to engage the three snaps.)
•
Reattach the wall plate
•
Expand the wall plate horizontally
•
Place the wall plate onto the unit
•
Contract the horizontally expanded wall plate onto the unit such that the side flange features seat inside the wall plate
•
No wiring needed
OFF-THE-SHELF DECORA WALL PLATE
When installing the unit with standard off-the-shelf decora wall plates, the following steps should be followed.
•
Remove the Acuity wall plate from the device by pulling the sides out to expand the wall plate and releasing it from the mounting flanges.
•
Unhook and remove the side flanges from the device
•
Connect the unit to the gang box
•
The unit will connect to the gang box by screws, one at the top and one at the bottom
•
Attach the wall plate
Acuity Brands | One Lithonia Way Conyers, GA 30012 Phone: 800.535.2465 www.acuitycontrols.com
© 2019-2022 Acuity Brands Lighting, Inc. All rights reserved. Rev. 09/01/22
RPODBA
4 of 4
