21
3.0 Flying the Mission
3.1 Pre Engine Start
Take a picture of the tail number of the aircraft.
Brief the pilot and observer on missions details; altitude, ground speed, target location(s)
and type. Agree on how you will direct the aircraft once in the target area. Make sure the
observer understands that he or she must determine camera direction for each photo
(aircraft heading minus 90 degrees for a photo window on the left side of the aircraft) and
record it in the photo log. Photographer and observer must coordinate how this will be
done prior to takeoff! Camera direction will be needed when each photo is up-loaded to
WMIRS or when photos are watermarked per USAF requirements.
Ask for an "in case of emergency" briefing in the event the pilot has not already done so.
If the flight is to be over water, ensure the briefing includes ditching instructions and that
you, the pilot and observer crew are wearing approved life vests.
Turn on the AMOD Data Logger.
Place it where it will have a clear view of the sky. It may be placed on the dash board
providing it does not obscure the view of the pilot or observer. Another good location is
to suspend it under the rear window using the clip included with the AMOD. After a few
minutes, confirm the unit has locked onto the satellite network.
Note: the aircraft needs to be outside of a metal hanger in order for the GPS receivers to
function correctly.
Remove the lens cap. Store it somewhere where it will not blow around the cockpit or fly
out the window; do not store the lens cap by allowing it to dangle off of the lens!
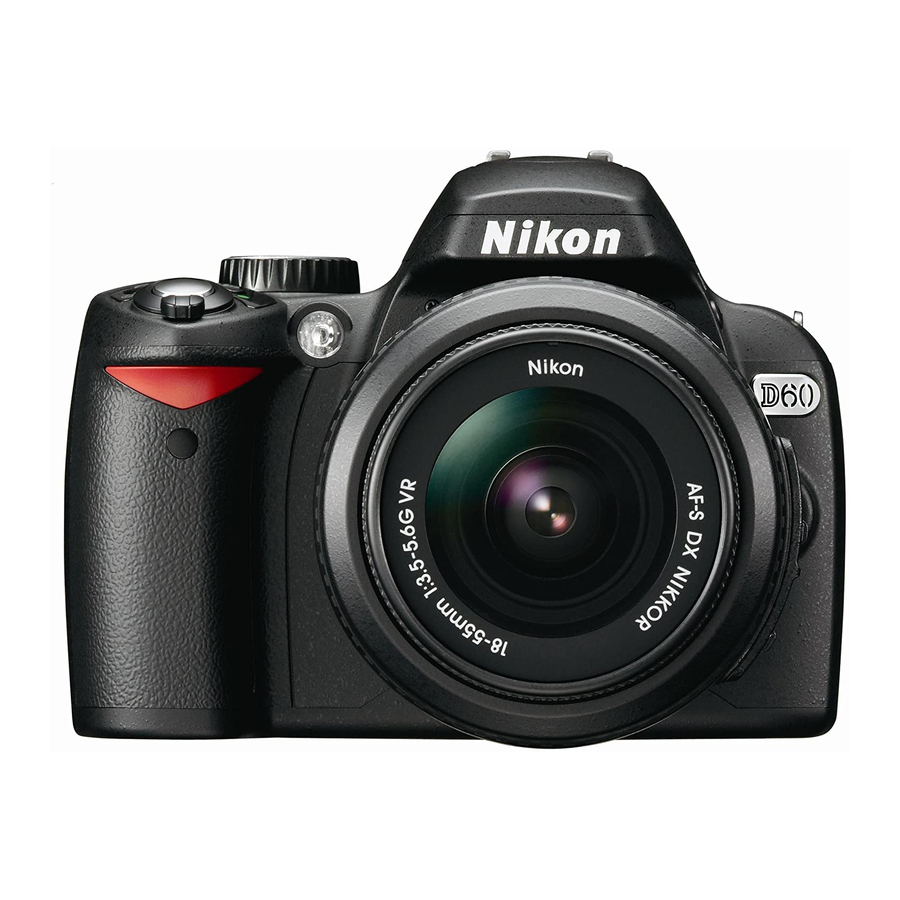
Turn on the camera. After a minute or so, verify that the GP-1 GPS is locked onto the
satellite network. Point the camera out the photo window and take a picture. Verify that
the photo is sharp, properly exposed and that the GPS data has been included in the
photo. See section 1.4 above for details.
If the Multi Function Timer Remote Control will be used during the mission, connect it to
the GP-1 GPS. Turn it on and confirm proper programming. Point the camera out the
photo window and activate the Timer Remote Control (push "start") and verify it takes
multiple photos at the correct time interval. Press stop to quit taking photos. See section
1.7 above for details.

