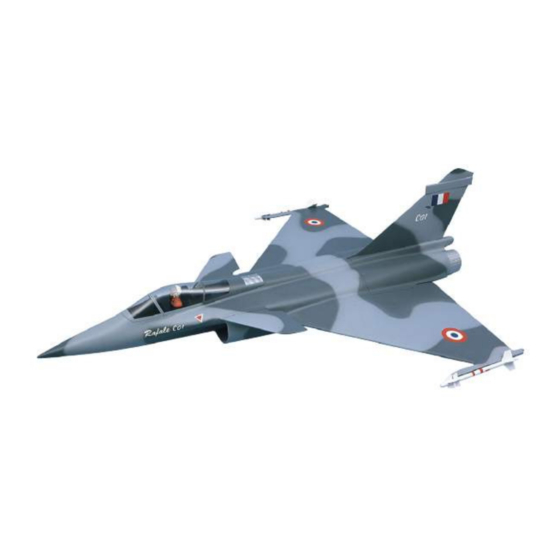
aero-naut Dassault Breguet Rafale C 01 1358/00 Инструкции по строительству - Страница 4
Просмотреть онлайн или скачать pdf Инструкции по строительству для Игрушка aero-naut Dassault Breguet Rafale C 01 1358/00. aero-naut Dassault Breguet Rafale C 01 1358/00 8 страниц.

10) Fuselage
Cut 12 pieces of scrap plywood to accept
the connecting screws (50), space them
out evenly on the inside of the fuselage (1)
where it projects beyond the motor
bulkhead (68), and glue them in place.
Drill pilot-holes for the screws (50) when
the glue has set hard. Place the two
fuselage sections (1 + 2) together, and fit
the connecting screws (50).
Trim the root facing ribs (14) to fit inside
the root profile of the wing panels, and
shorten them by about 10 mm towards the
trailing edge. Trim the half-ribs (15) to the
same shape and glue them to the ribs
(14).
Tape the root facing ribs (14 + 15) to the front and rear fuselage sections (1 + 2)
and fit the wing panels to check alignment. Note that the wing spars must be
shortened by the thickness of the root facing ribs.
Glue the two root facing ribs (14) to the front fuselage section (1), allow the glue
to set hard, then separate the fuselage sections again.
Printed film templates are supplied for locating the holes in the fuselage for the
canard support tubes (22); drill the holes at the marked points. Glue the tubes
(22) in the canard panels (21), and glue the canards and the tubes to the
fuselage; they must be at the neutral angle of incidence dictated by the fuselage moulding; there should be a gap
of 1 - 2 mm to the top surface of the profile, as shown in the full-
size detail drawing.
Bend the wire bars (69) to shape and glue them to the inside of the
main undercarriage wheel doors, ensuring that the doors (75) open
when the undercarriage is extended.
The wheel doors are closed by means of a steel cable (A), which is
fitted exactly as described for the noseleg unit. The maximum
opening of the wheel door can be limited by a second steel cable
(B), which is attached to a point on the wheel door in front of the
wheel leg (75) and to the opposite side of the undercarriage
opening. Finally glue the battery support (73) to the rear of the
former (10) inside the fuselage.
11) Fin
Glue the balsa spar (4) in the fin (3). Cut out the opening for the fin spar (4) in
the top of the rear fuselage section (2) and glue the fin in place.
12) Wings
The first step here is to install the aileron servos in the wings (18). Glue each
servo to a plywood plate (large oval cut-out from former 10), to act as a
reinforcement. Cut slots in the wings for the servo output arms.
Glue the horns (20) to the underside of the ailerons.
The plastic aerial sleeve (76) is routed through the port wing
and the rocket pylon (39 + 40), and glued in place. Drill a
hole through the root rib (14) and the fuselage (1) so that the
sleeve can be run into the fuselage.
Glue together the die-cut parts (39 + 40) to form the rocket
pylons. Note that the hard plywood part must be the centre
69
Building instructions - Rafale C 01 - Aramid
Dassault Breguet Rafale C01
70
68
14
14
layer. Glue pieces of scrap balsa (45) in the tip
opening of the wings to act as reinforcements, and
glue the pylons to them. Run the aerial tube right
through the port rocket pylon.
The rockets (41) are made from the balsa dowel
supplied. Cut out the tail and nose fins (42 + 43)
from the printed film, cut slits in the balsa and glue
them in place.
70
5
15
18
B
A
4
