Canon L1 Руководство по процедурам установки - Страница 40
Просмотреть онлайн или скачать pdf Руководство по процедурам установки для Сканер Canon L1. Canon L1 48 страниц.
Также для Canon L1: Руководство по эксплуатации (37 страниц)
2) Fit two stepped mounting screws [I] (M4 x 4) to the
pickup assembly of the finisher.
3) Route the connector cable [ l ] of the puncher unit to
the rear, and hold it as shown. Hook the hole [2] of
the joint on the two stepped mounting screws.
A
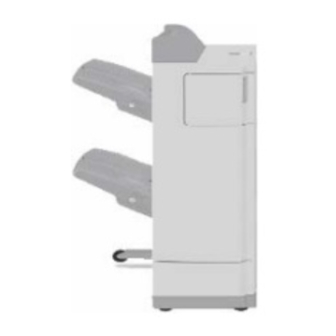
In the case of a Finisher-AE1, the joint would likely
interfere. Be sure to hook the puncher unit [2] in
place while keeping the upper cover [I] of the fin-
isher open.
1 1
I
F-1-111
4) Using a long screwdriver, secure the puncher unit
to the finisher using the two stepped screws [l] (M4
x 10).
5) Detach the rear cover of the finisher.
<Finisher-AE 1,
Remove the three screws [I], and detach the rear cov-
er [2].