Great Plains Industries FM-300HR Руководство пользователя - Страница 11
Просмотреть онлайн или скачать pdf Руководство пользователя для Измерительные приборы Great Plains Industries FM-300HR. Great Plains Industries FM-300HR 16 страниц. Electronic disc meter
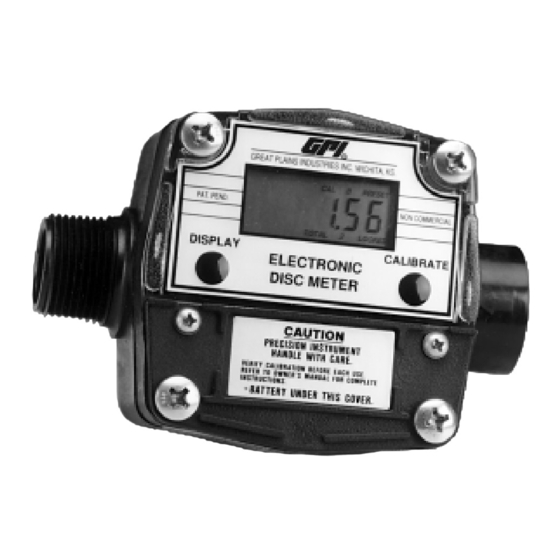
CAUTION: Do not submerge the meter.
8. When the nutator turns freely, as-
semble and install following the in-
structions below.
Assemble Nutator
1. Assemble the nutator disc and nuta-
tor halves. Install the O-ring on the
nutator inlet.
2. Install the nutator in the meter hous-
ing. Make sure the nutator O-ring fits
properly against the meter inlet.
3. Secure the nutator with the metal
clips. Beginning opposite the inlet,
install a clip in each slot in the hous-
ing. Push each clip down firmly un-
til seated.
4. Place the signal generator on the
nutator pin. Make sure it rotates
freely on the pin.
5. Coat the O-ring lightly with bearing
grease and seat securely on the
coverplate.
6. With the display facing up, turn the
coverplate to the desired orientation.
Align holes on coverplate and hous-
ing.
7. Secure the coverplate by evenly
tightening screws to 25 to 35 in. lbs.
Storage
After thoroughly cleaning the meter, dis-
connect the battery and store the meter
in a clean, dry location.
Battery Replacement
Your meter is equipped with a field-
replaceable 9-volt alkaline battery.
If the meter's readout should become
dim or blank, replace the battery.
When the battery is disconnected or
fails, the Batch and Cumulative Totals
return to zero.
Factory and Field Calibrations are not
lost when the battery is replaced or
power is lost. They are saved in the
meter's computer and are available after
a new battery is installed. You do not
need to repeat Field Calibration.
Check the battery and terminals at least
every year to ensure proper operation. It
is strongly recommended that terminals
be cleaned annually.
NOTE: The battery can be replaced
without removing the meter from the
hose or pipe.
To replace battery or clean terminals:
1. Remove the two large and two small
screws from the battery coverplate
located on the lower portion of the
meter face. (Figure 9)
2. Remove the battery coverplate and
gasket. (Figure 10)
Figure 9
Figure 10
11