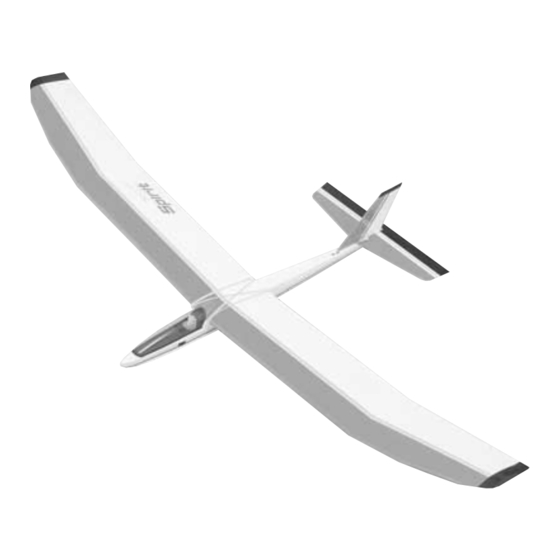
GREAT PLANES Spirit Руководство по эксплуатации - Страница 12
Просмотреть онлайн или скачать pdf Руководство по эксплуатации для Игрушка GREAT PLANES Spirit. GREAT PLANES Spirit 16 страниц. 2-meter sailpane
length (be careful not to glue the two strings together) and
the spoilers should open and close together. Adjustments
can be made at the toothpick end if needed.
RADIO SETTINGS
Use the sketch to make sure the control surfaces are
moving the correct directions.
The control throws are as follows:
Elevator
1/2" [13mm] up
1/2" [13mm] down
Rudder
1-1/2" [38mm] left
1-1/2" [38mm] right
Spoilers
90º to the upper surface of the wing
BALANCE THE MODEL
Note: This section is VERY important and must not be
omitted! A model that is not properly balanced will be
unstable and possibly unflyable.
Accurately mark the balance point on the bottom of the wing
on both sides of the fuselage. The balance point is located
3-1/4" [83mm] back from the leading edge. This is the
balance point at which your model should balance for your
first flights. Later, you may wish to experiment by shifting the
balance up to 5/16" [8mm] forward or back to change the
flying characteristics. Moving the CG forward of the spar will
add some stability but it will decrease the overall
performance of the sailplane. Moving the balance behind
the spar makes the model more agile with a lighter and
snappier "feel" and improves the sailplane's response to air
currents. In any case, please start at the location we
recommend and do not at any time balance your model
outside the recommended range.
With the wing attached to the fuselage, and all parts of the
model installed (ready to fly), lift the model by picking it up
with a finger on each bottom inner spar. If the tail drops
when you lift, the model is "tail heavy" and you must add
weight to the nose to balance. If the nose drops, it is "nose
heavy" and you must add weight to the tail to balance. The
model should hang with a slight nose down attitude. Add
BB's or lead to the weight compartment at the front of the
fuselage to correct a tail heavy model. In the unusual
circumstance that you would have a nose heavy model, you
can switch the receiver and battery or even move the
receiver behind the servos. Getting the weight farther back
helps correct the "nose heaviness."
CHECKING FOR WARPS
This is a very important step and should be done
occasionally throughout the flying season. A sailplane's
wing is most efficient when it is not twisted or warped at all.
"Washout" (wing trailing edges twisted up at the tip) helps
make a poor wing design fly better by adding some stability
(preventing stalls) at slow speeds but it cuts down on the
wing efficiency at normal speeds. The SPIRIT ARF's wing is
designed to fly well at slow speeds without any washout,
and therefore we recommend you check to make sure the
wings are "flat" using the following procedure:
Set the wing so an inner panel is resting on a flat surface.
Any warp (twist) will show up by causing a corner of the
panel to rise off the work surface.
To remove the warp, gently twist the wing in the opposite
direction while a helper glides an iron or heat gun over the
covering on both the top and the bottom of the panel to
re-shrink the covering. Hold the twist until the covering cools
and then recheck for warps. It may take several tries to get
a warp out but it is worth it as you will end up with a sailplane
that flies straight and true and responds to air currents like
a high performance sailplane should.
Follow the same procedure to check all four wing panels
and then go back and double check them. Sometimes you
put a warp in one panel while trying to fix another. You
should also look at the tail surfaces as they too can warp.
12